Finally getting around to some small details. The gas cap still needed to have the seal finished up. There needs to be something to cover the spring and screw that hang under the cap and a baffle to help keep sloshing gas away from the seal. There also needs to be a small air vent. On the tail light, an LED was placed inside the housing and a neat way to secure the wiring under the fender was worked out.

The finished cap. It operates easily with one hand, and stays open on its own. A cotter pin was added to the screw holding the locking lever on. Some people might frown on a cotter pin on the gas cap hinge, but after seeing one on a Vincent, I figure its legit.

The inner cap and air vent for the gas cap. A failed attempt made from some brass tube is in the background. It took more than an hour to beat that ugly piece of crap, and about half that time I was questioning whether it would make the cut. Sometimes you just have to start over.

Making the cap was a lot easier the second time. The piece of brass was domed a little on a beater bag first, and then placed inside a used brake caliper piston to form the flange. There were probably ten annealing sessions to keep the metal soft.

Here the cap flange is being flattened out with the aid of a vise, steel plate, a steel drift and the brake piston..

Some Fel-Pro cork gasket material was used for the seal. The spring mechanism for the locking lever can be seen under the cap.

The nice thing about the shape of the cap is that the taper on the edges holds the thick gasket material in place which in turn holds the inner cap in place.

Had to make some brass washers partially because the hardware store did not carry just the right dimensions needed, and partially because I didn’t want to wait to get some online.

This is how you finish up the edges on the washers after they are punched out. After they are chucked up, they can be spun against the belt sander, then some finer sand paper, and then the buffer. They are placed on a piece of rod and buffed agin to break the edges.

The washers were to mount the front fender bracket. Everything is getting a rubber mount on the body work. There are nylon lock nuts on the backside.

The inside of the tail light housing got a bracket soldered on and a Supernova LED light. These lights come from Revival Cycles in Austin and are super bright.
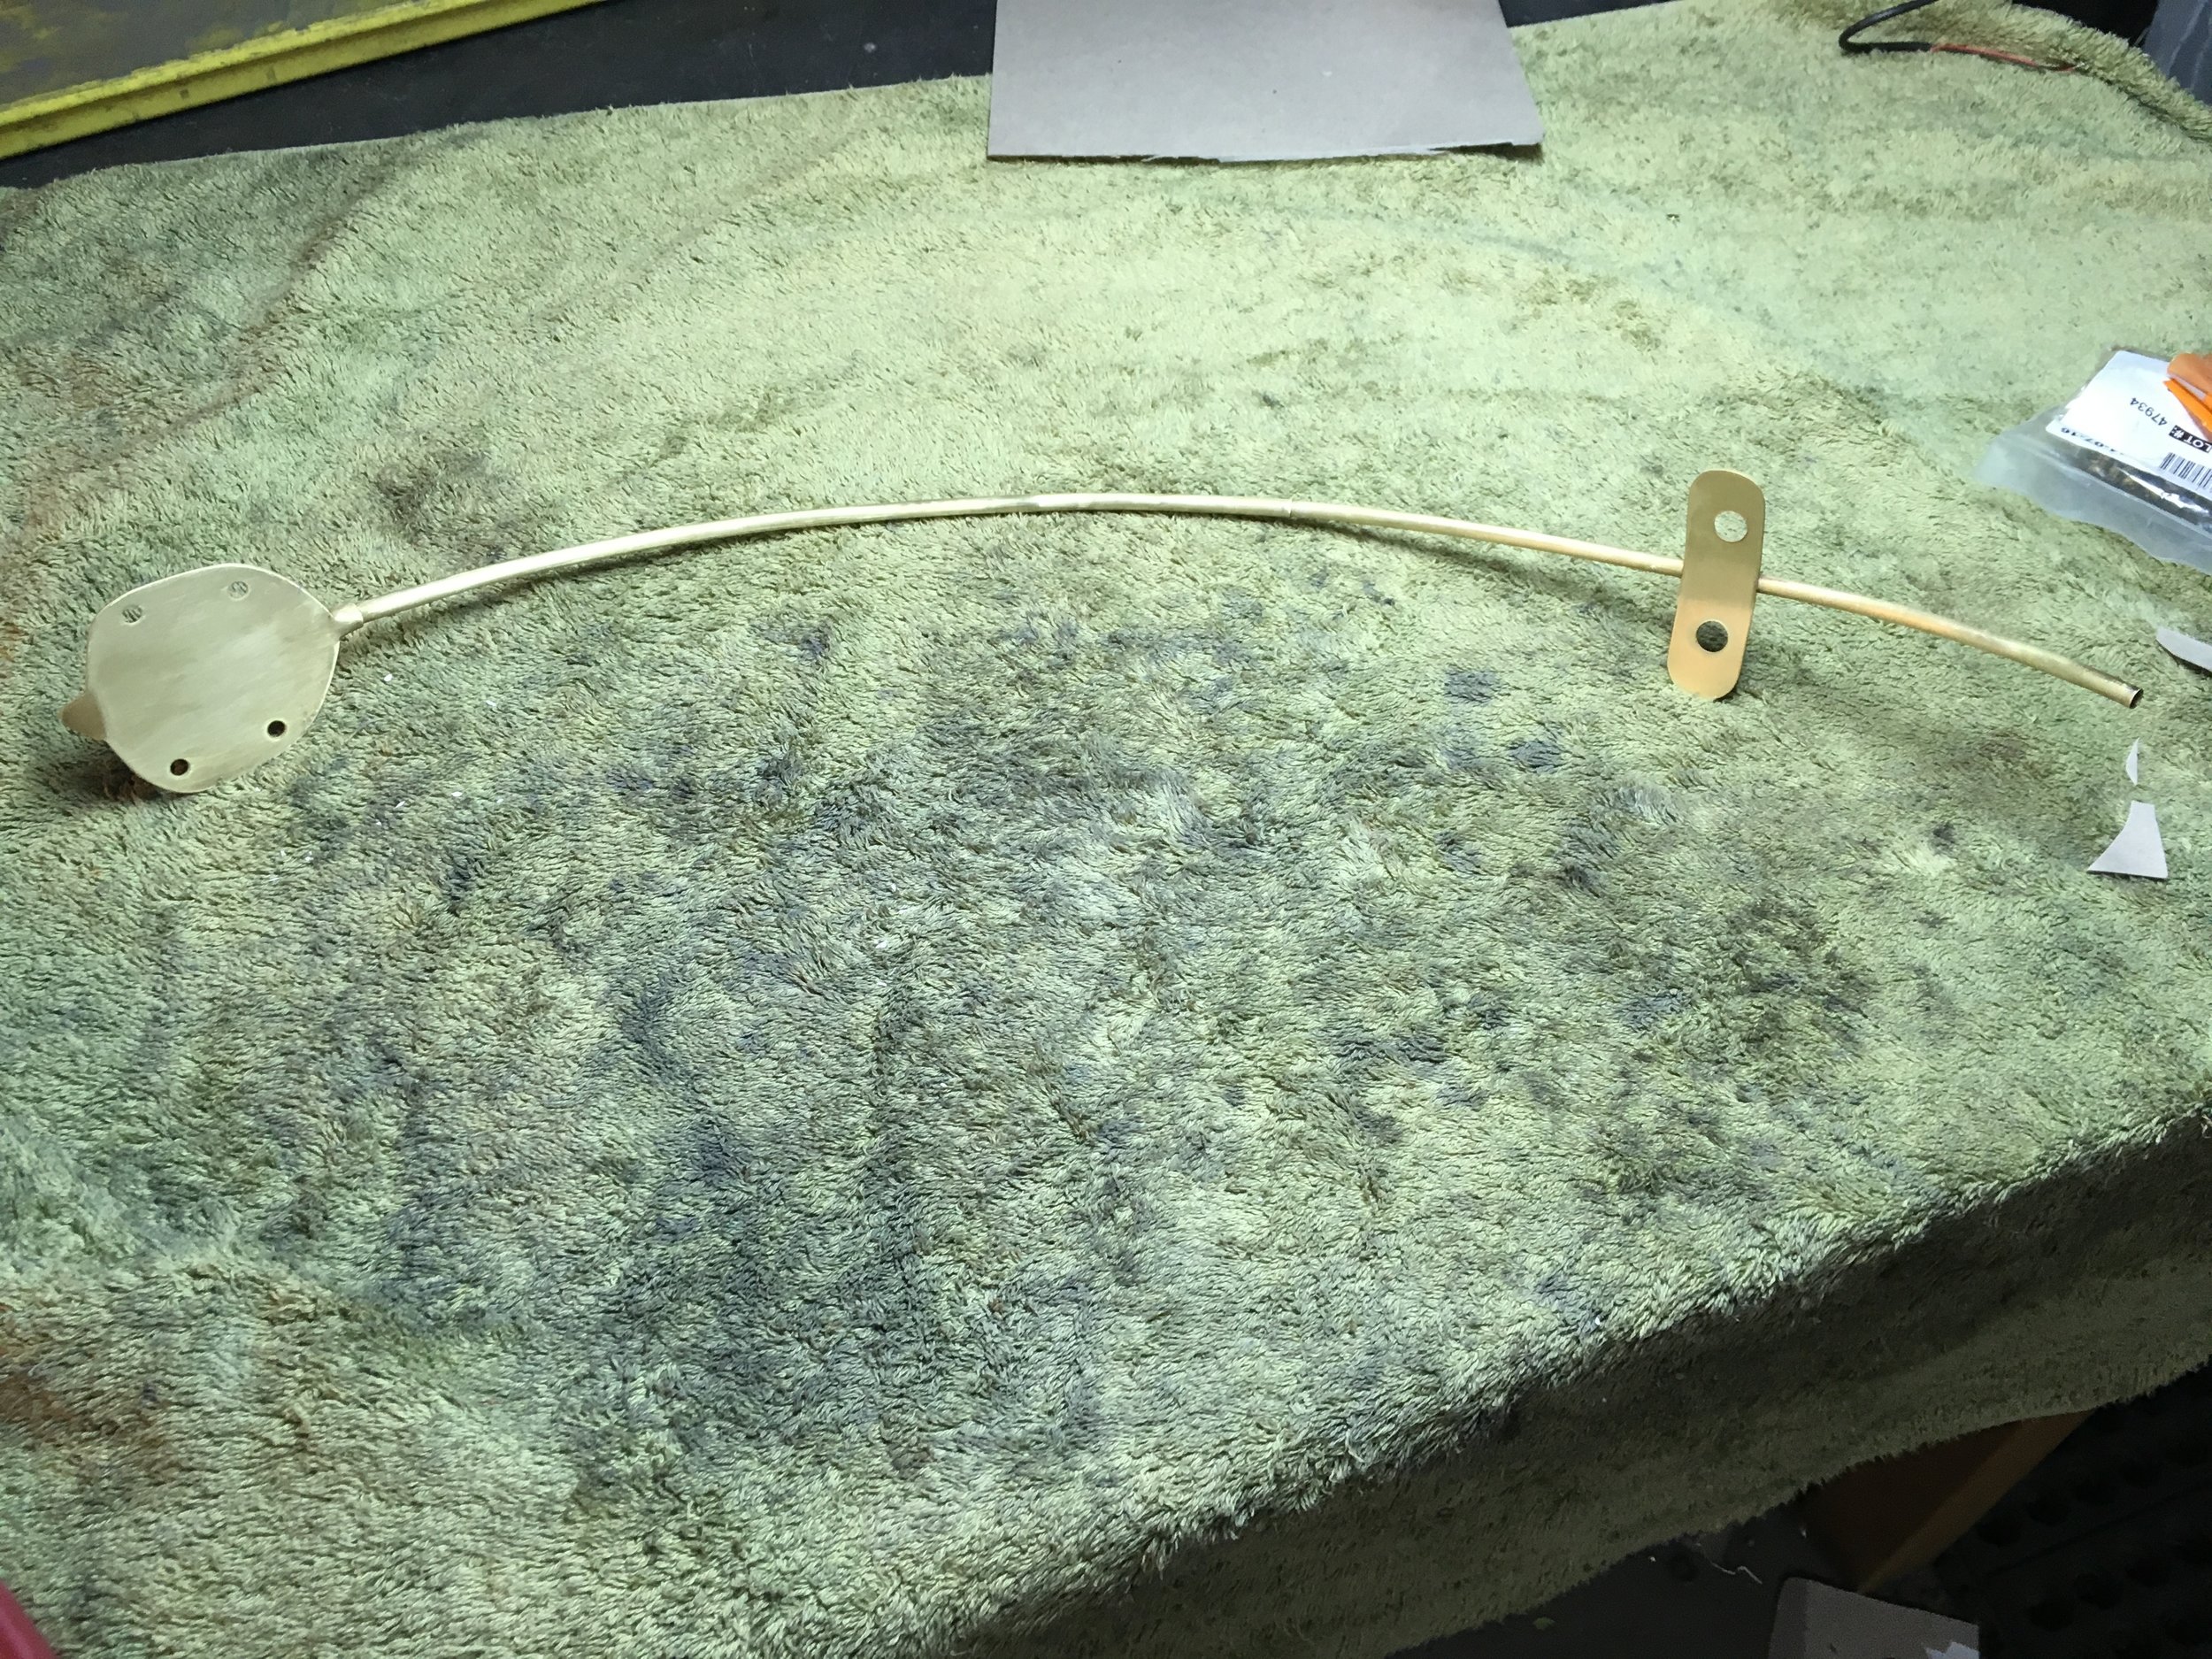
Trying to figure a tidy and secure way to run the tail light wiring. This tubular brass bracket was put together to solve the problem.

The bracket in place. The lower end of the tube and wiring will be made to exit the fender and go to the power source, but that will be worked out when the fender is mounted back on the bike.

Really liking how the flair of green on the end of the fender looks with the light.