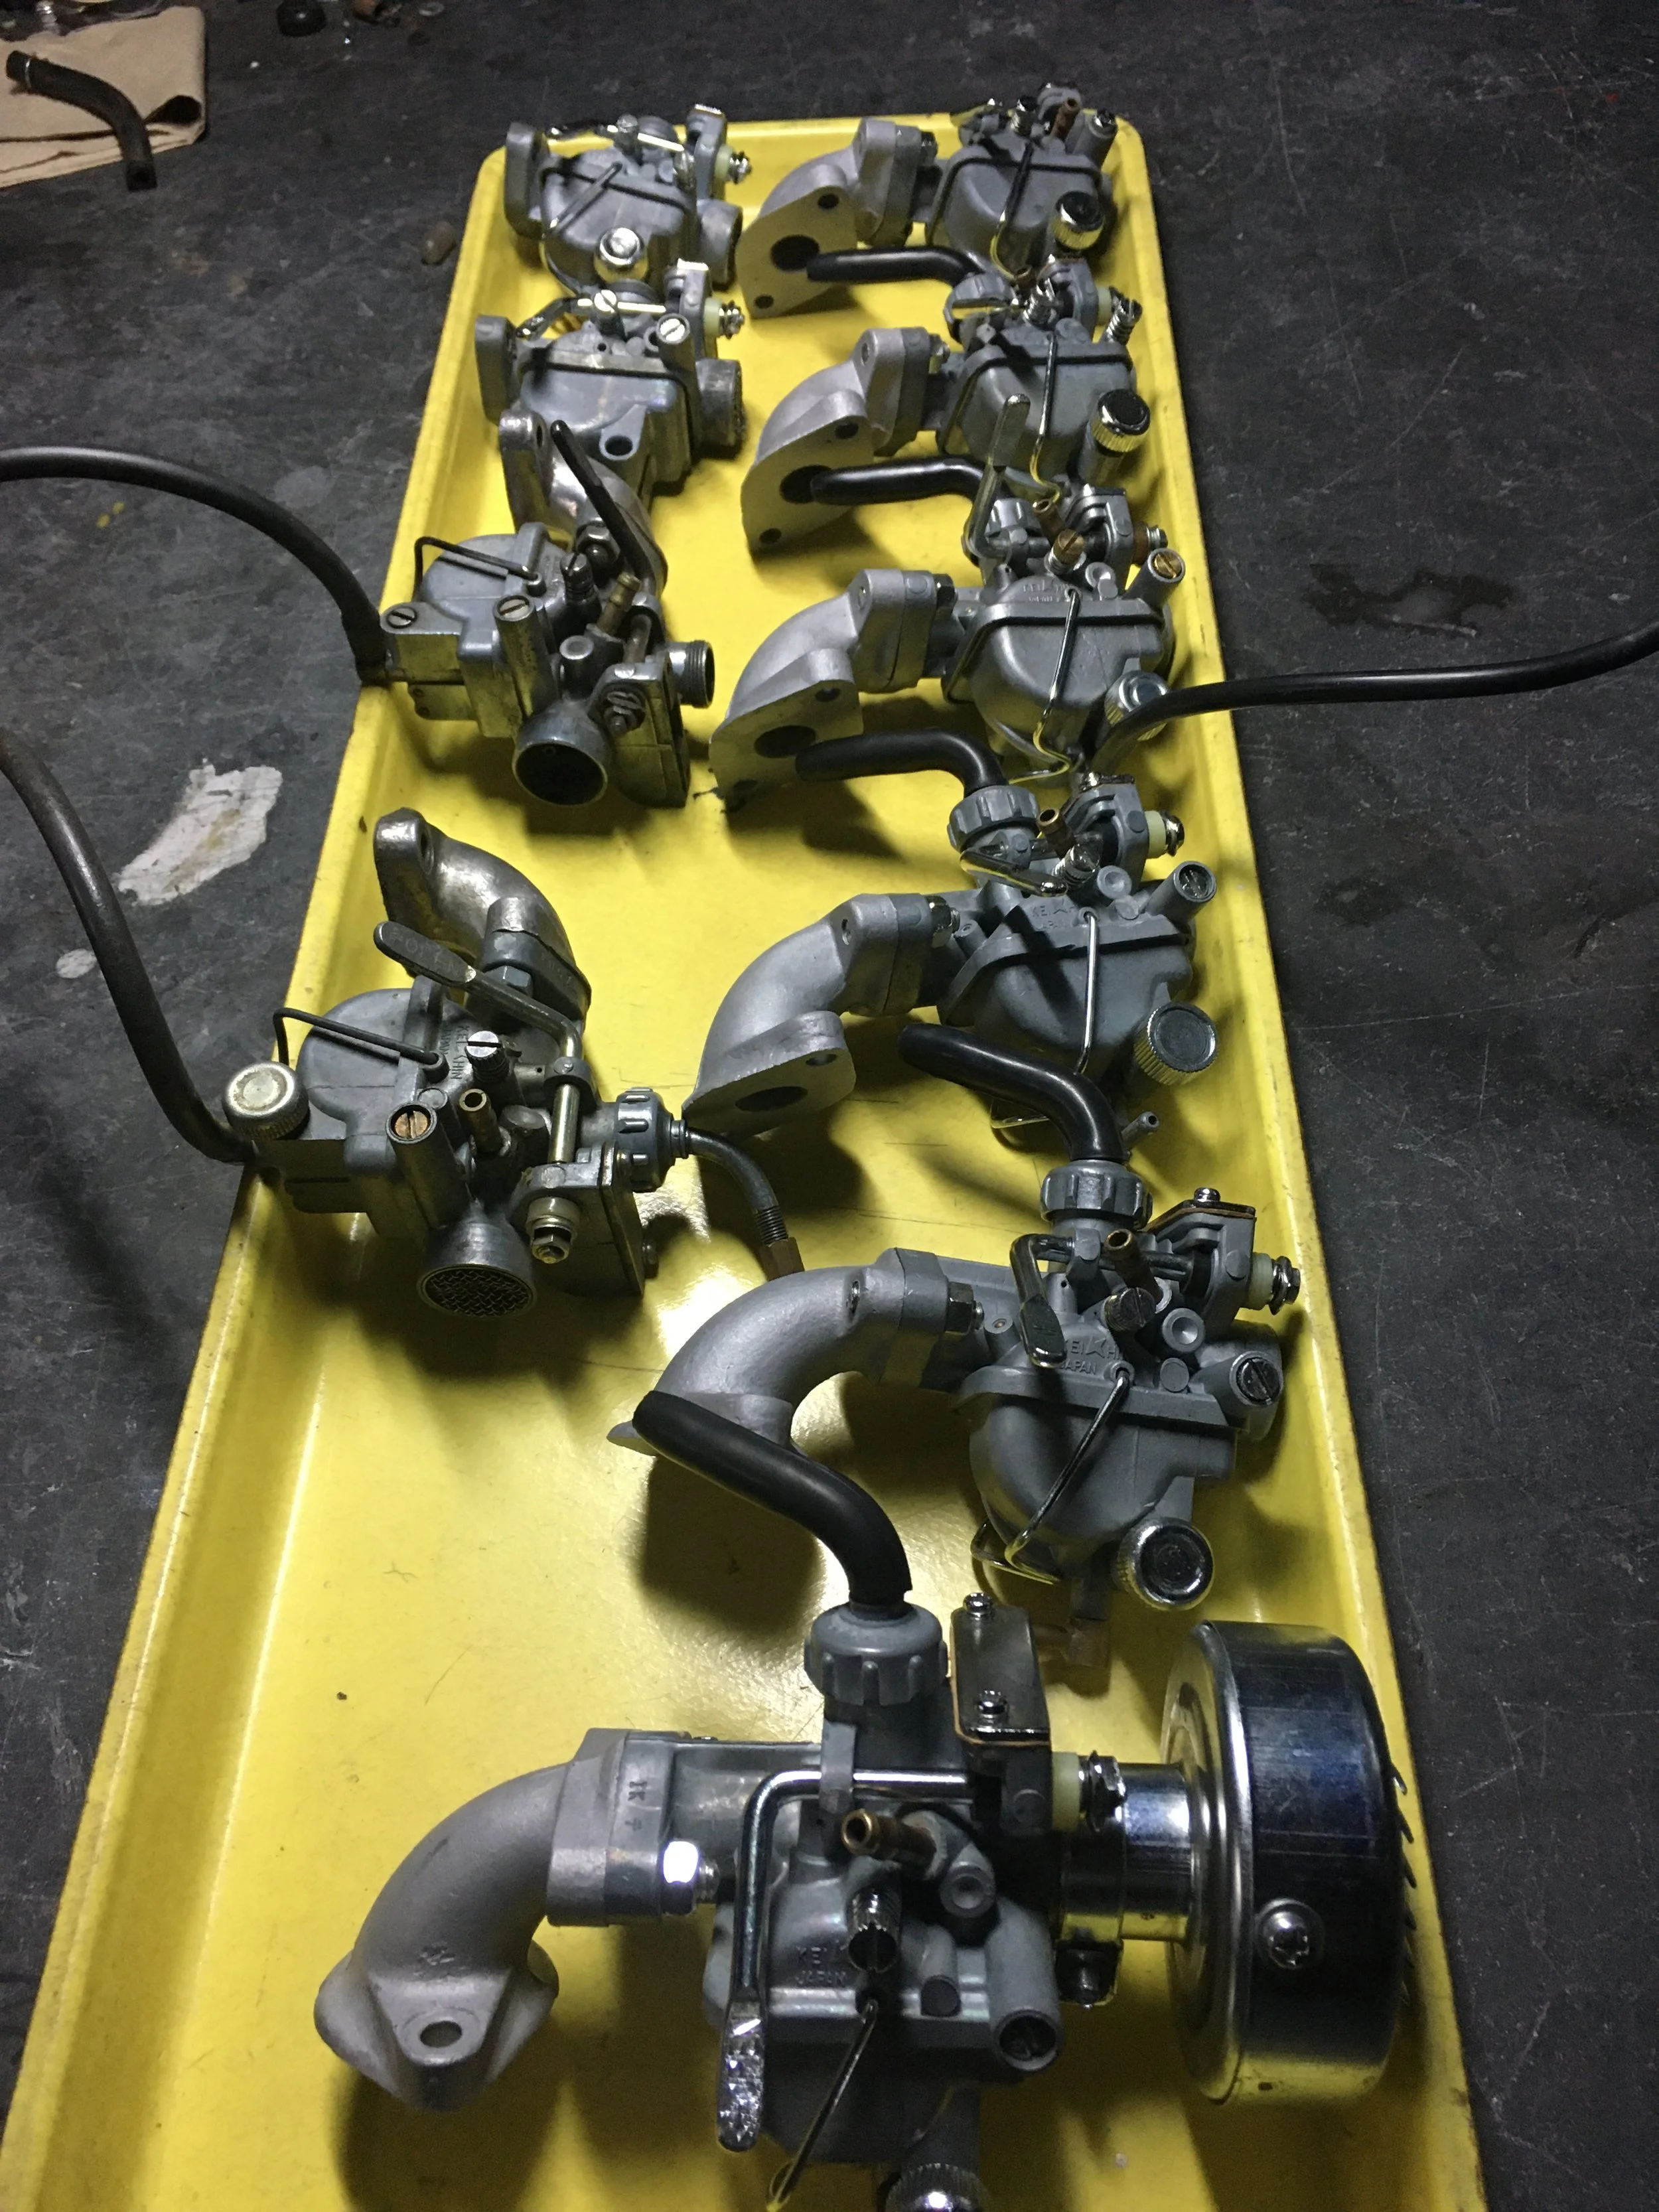
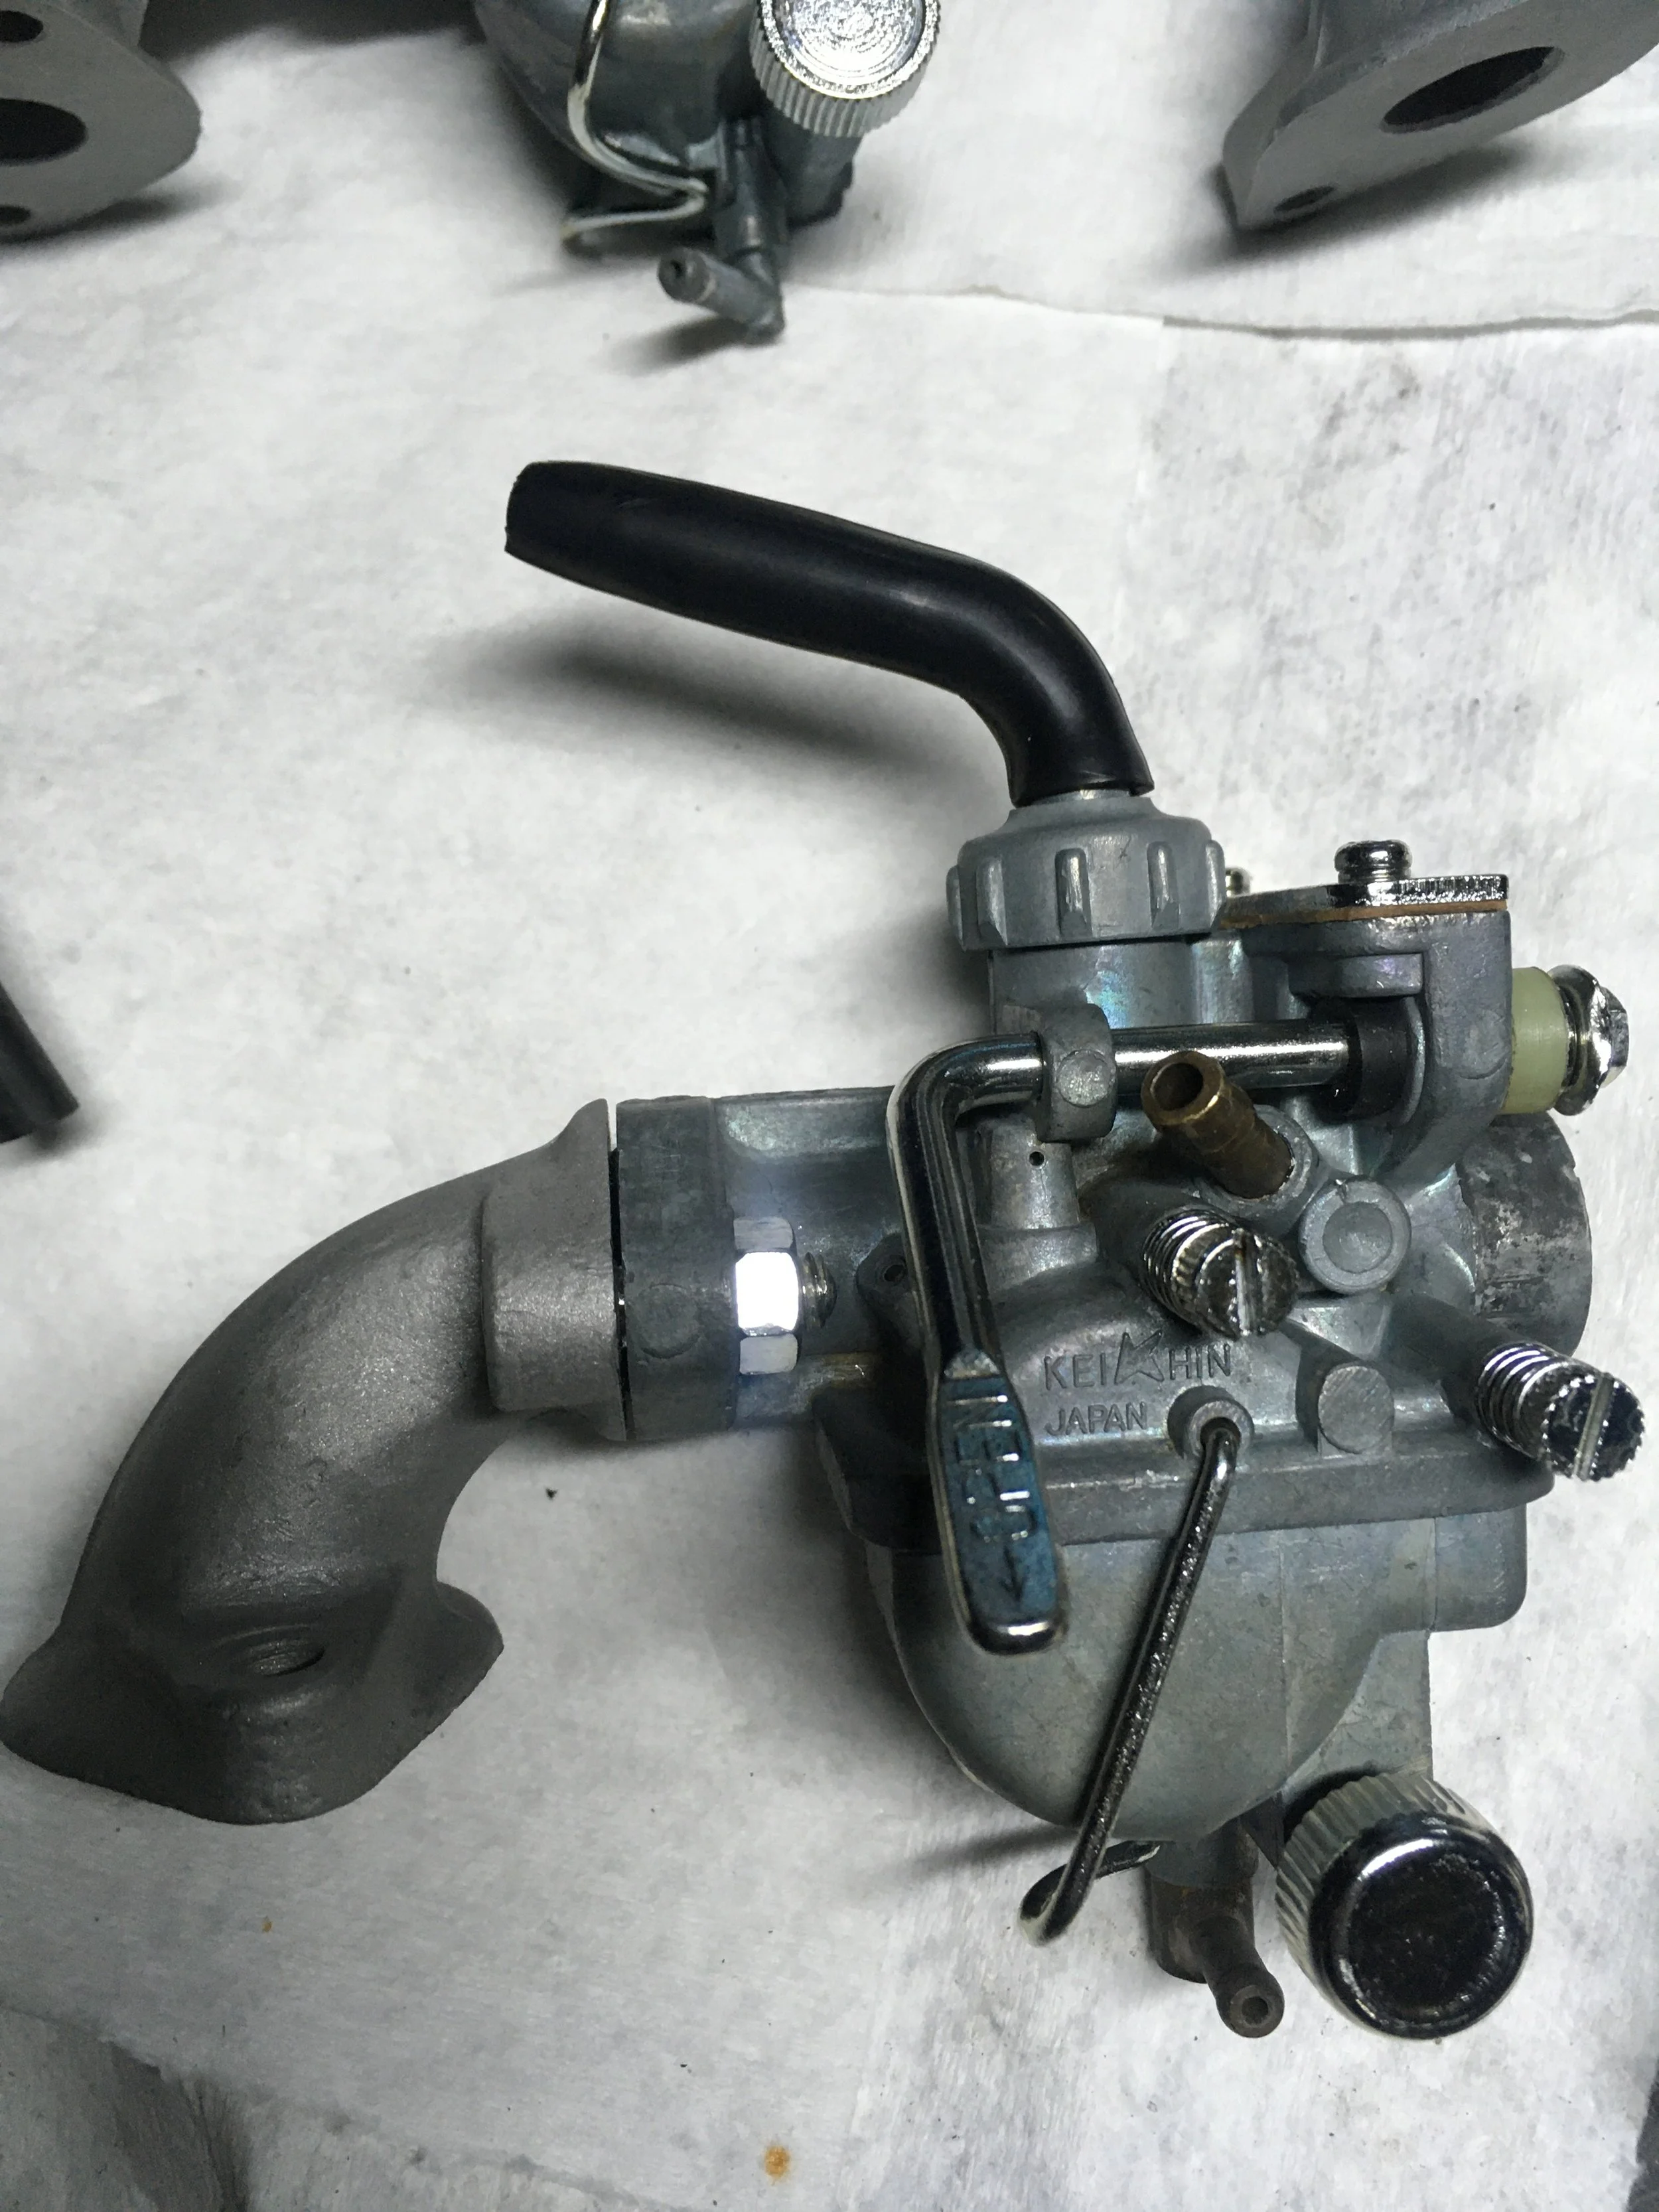
Two Honda 1970 Z50 minibikes were in need of a carburetor. With as many minis as there are around here, it pays to have one ready. Eight original carbs were worked over, with six of them completed, and a couple still needing parts.
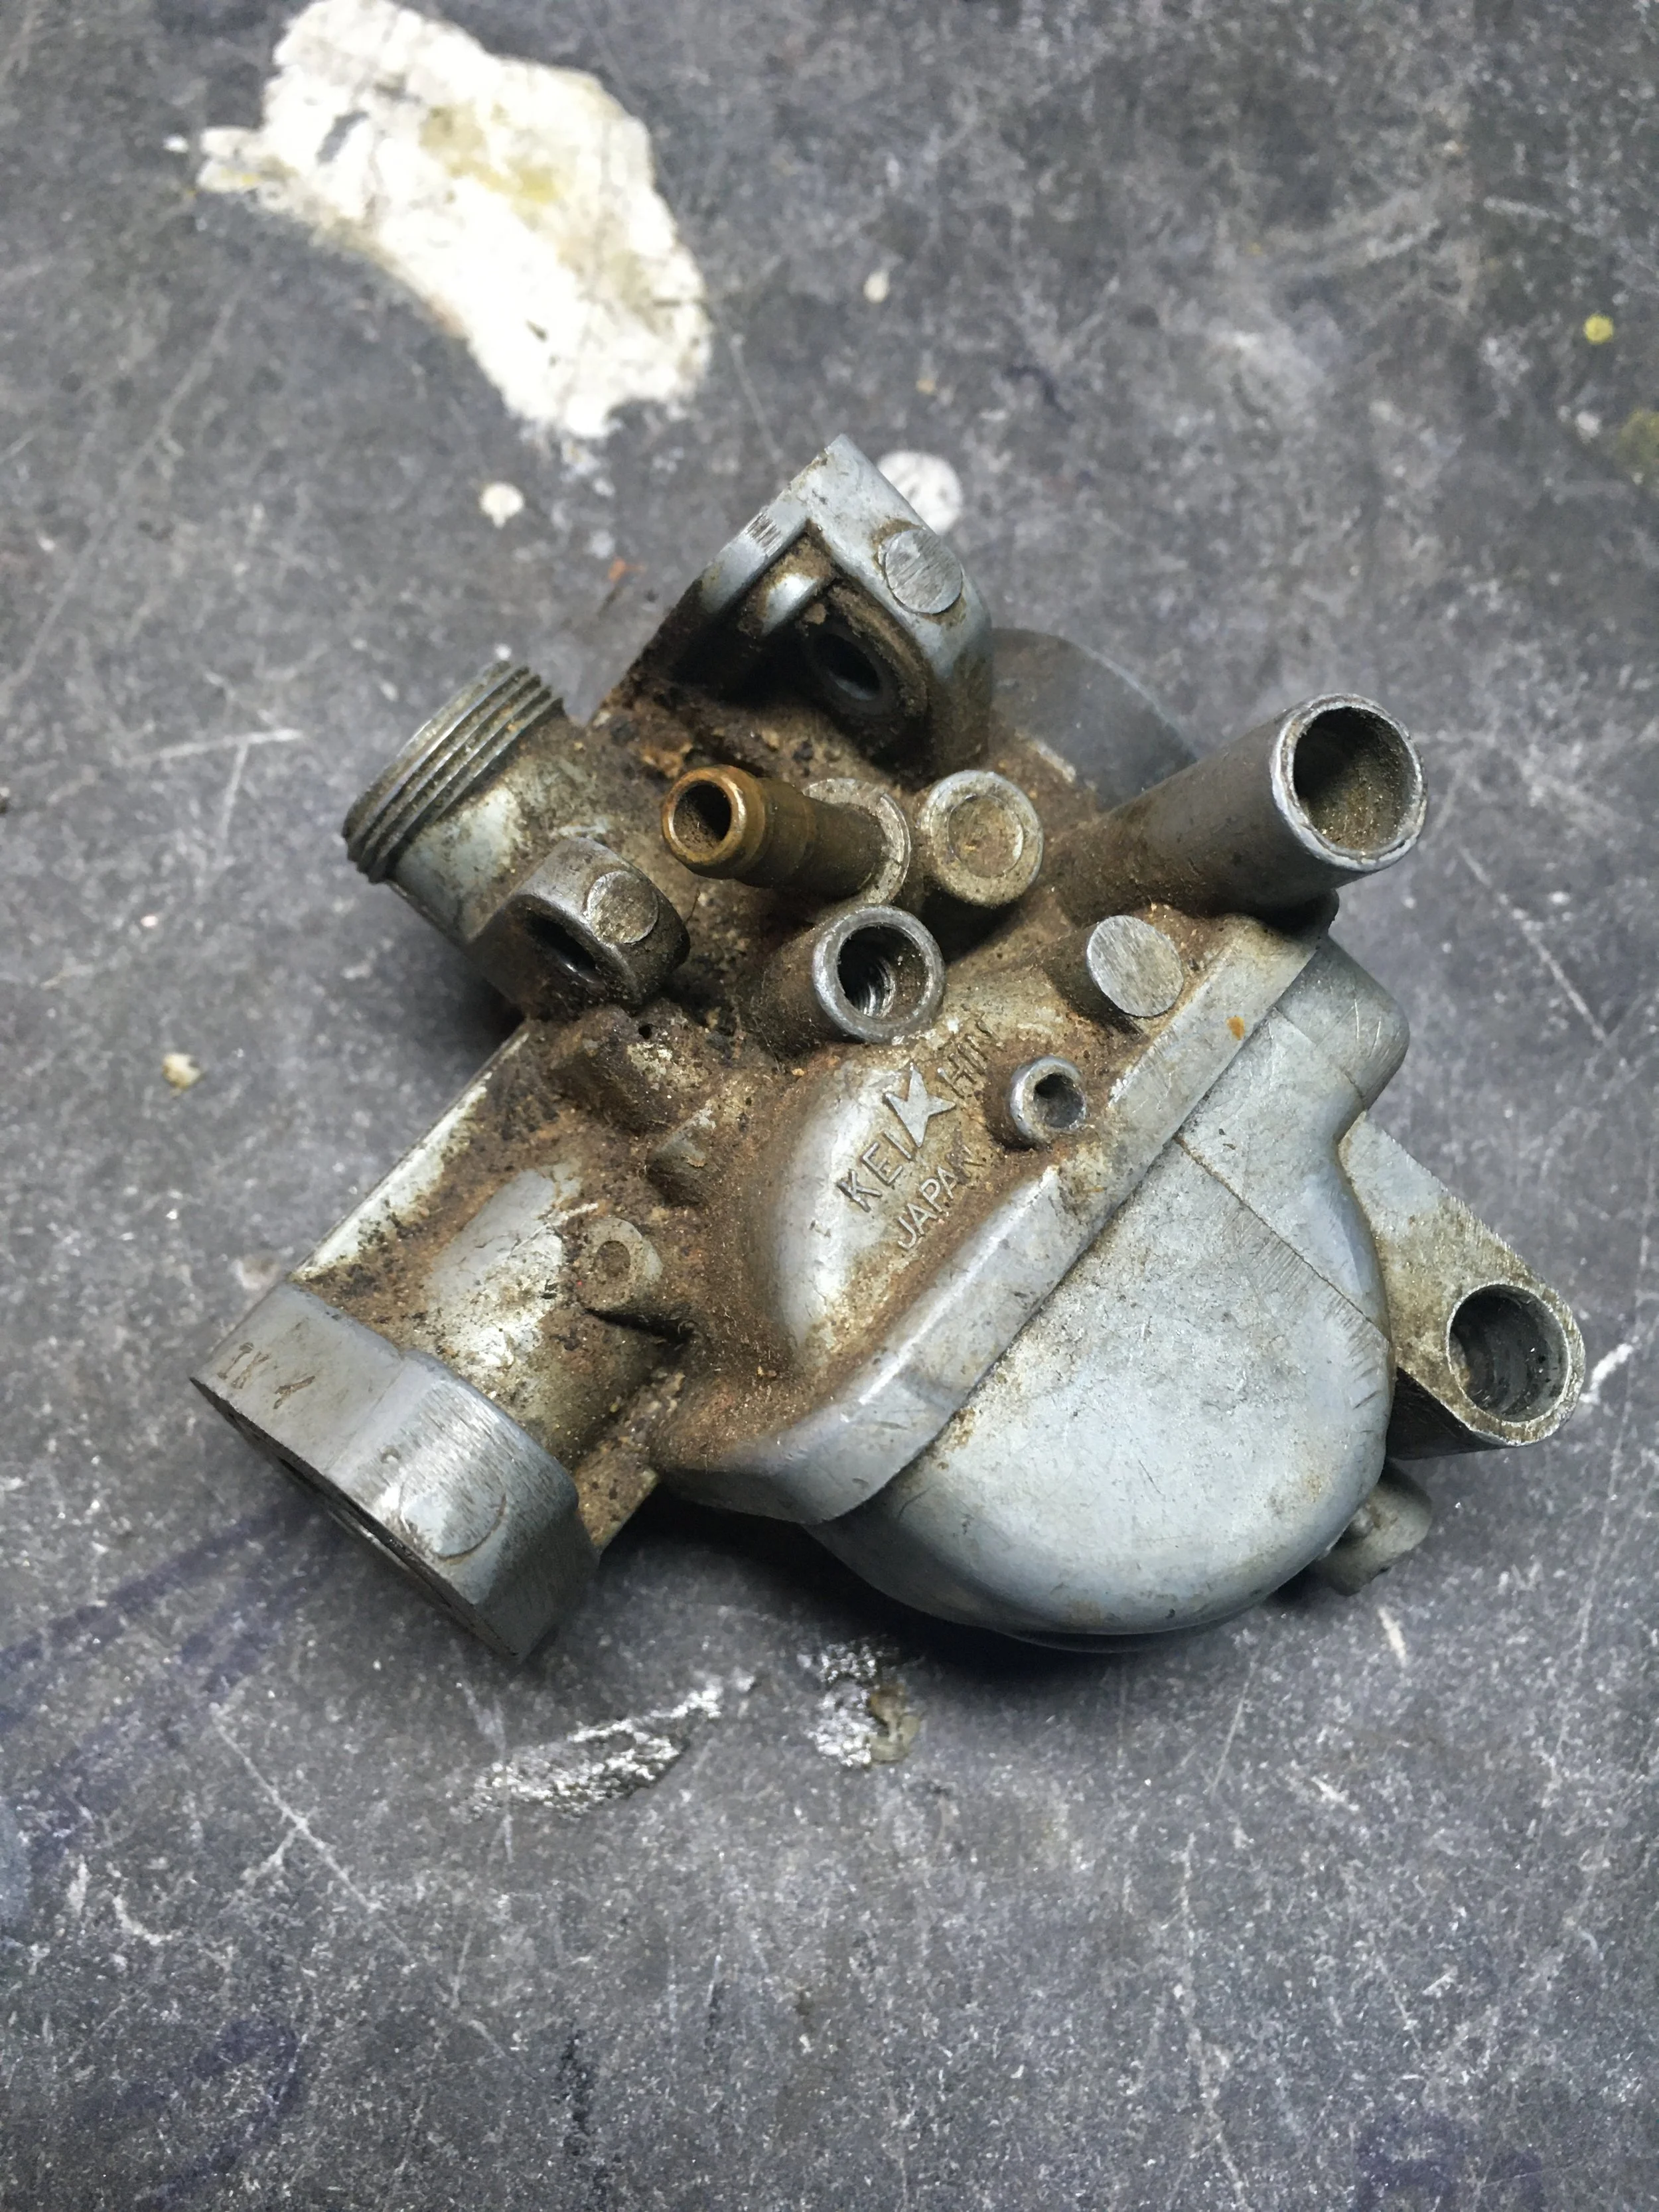
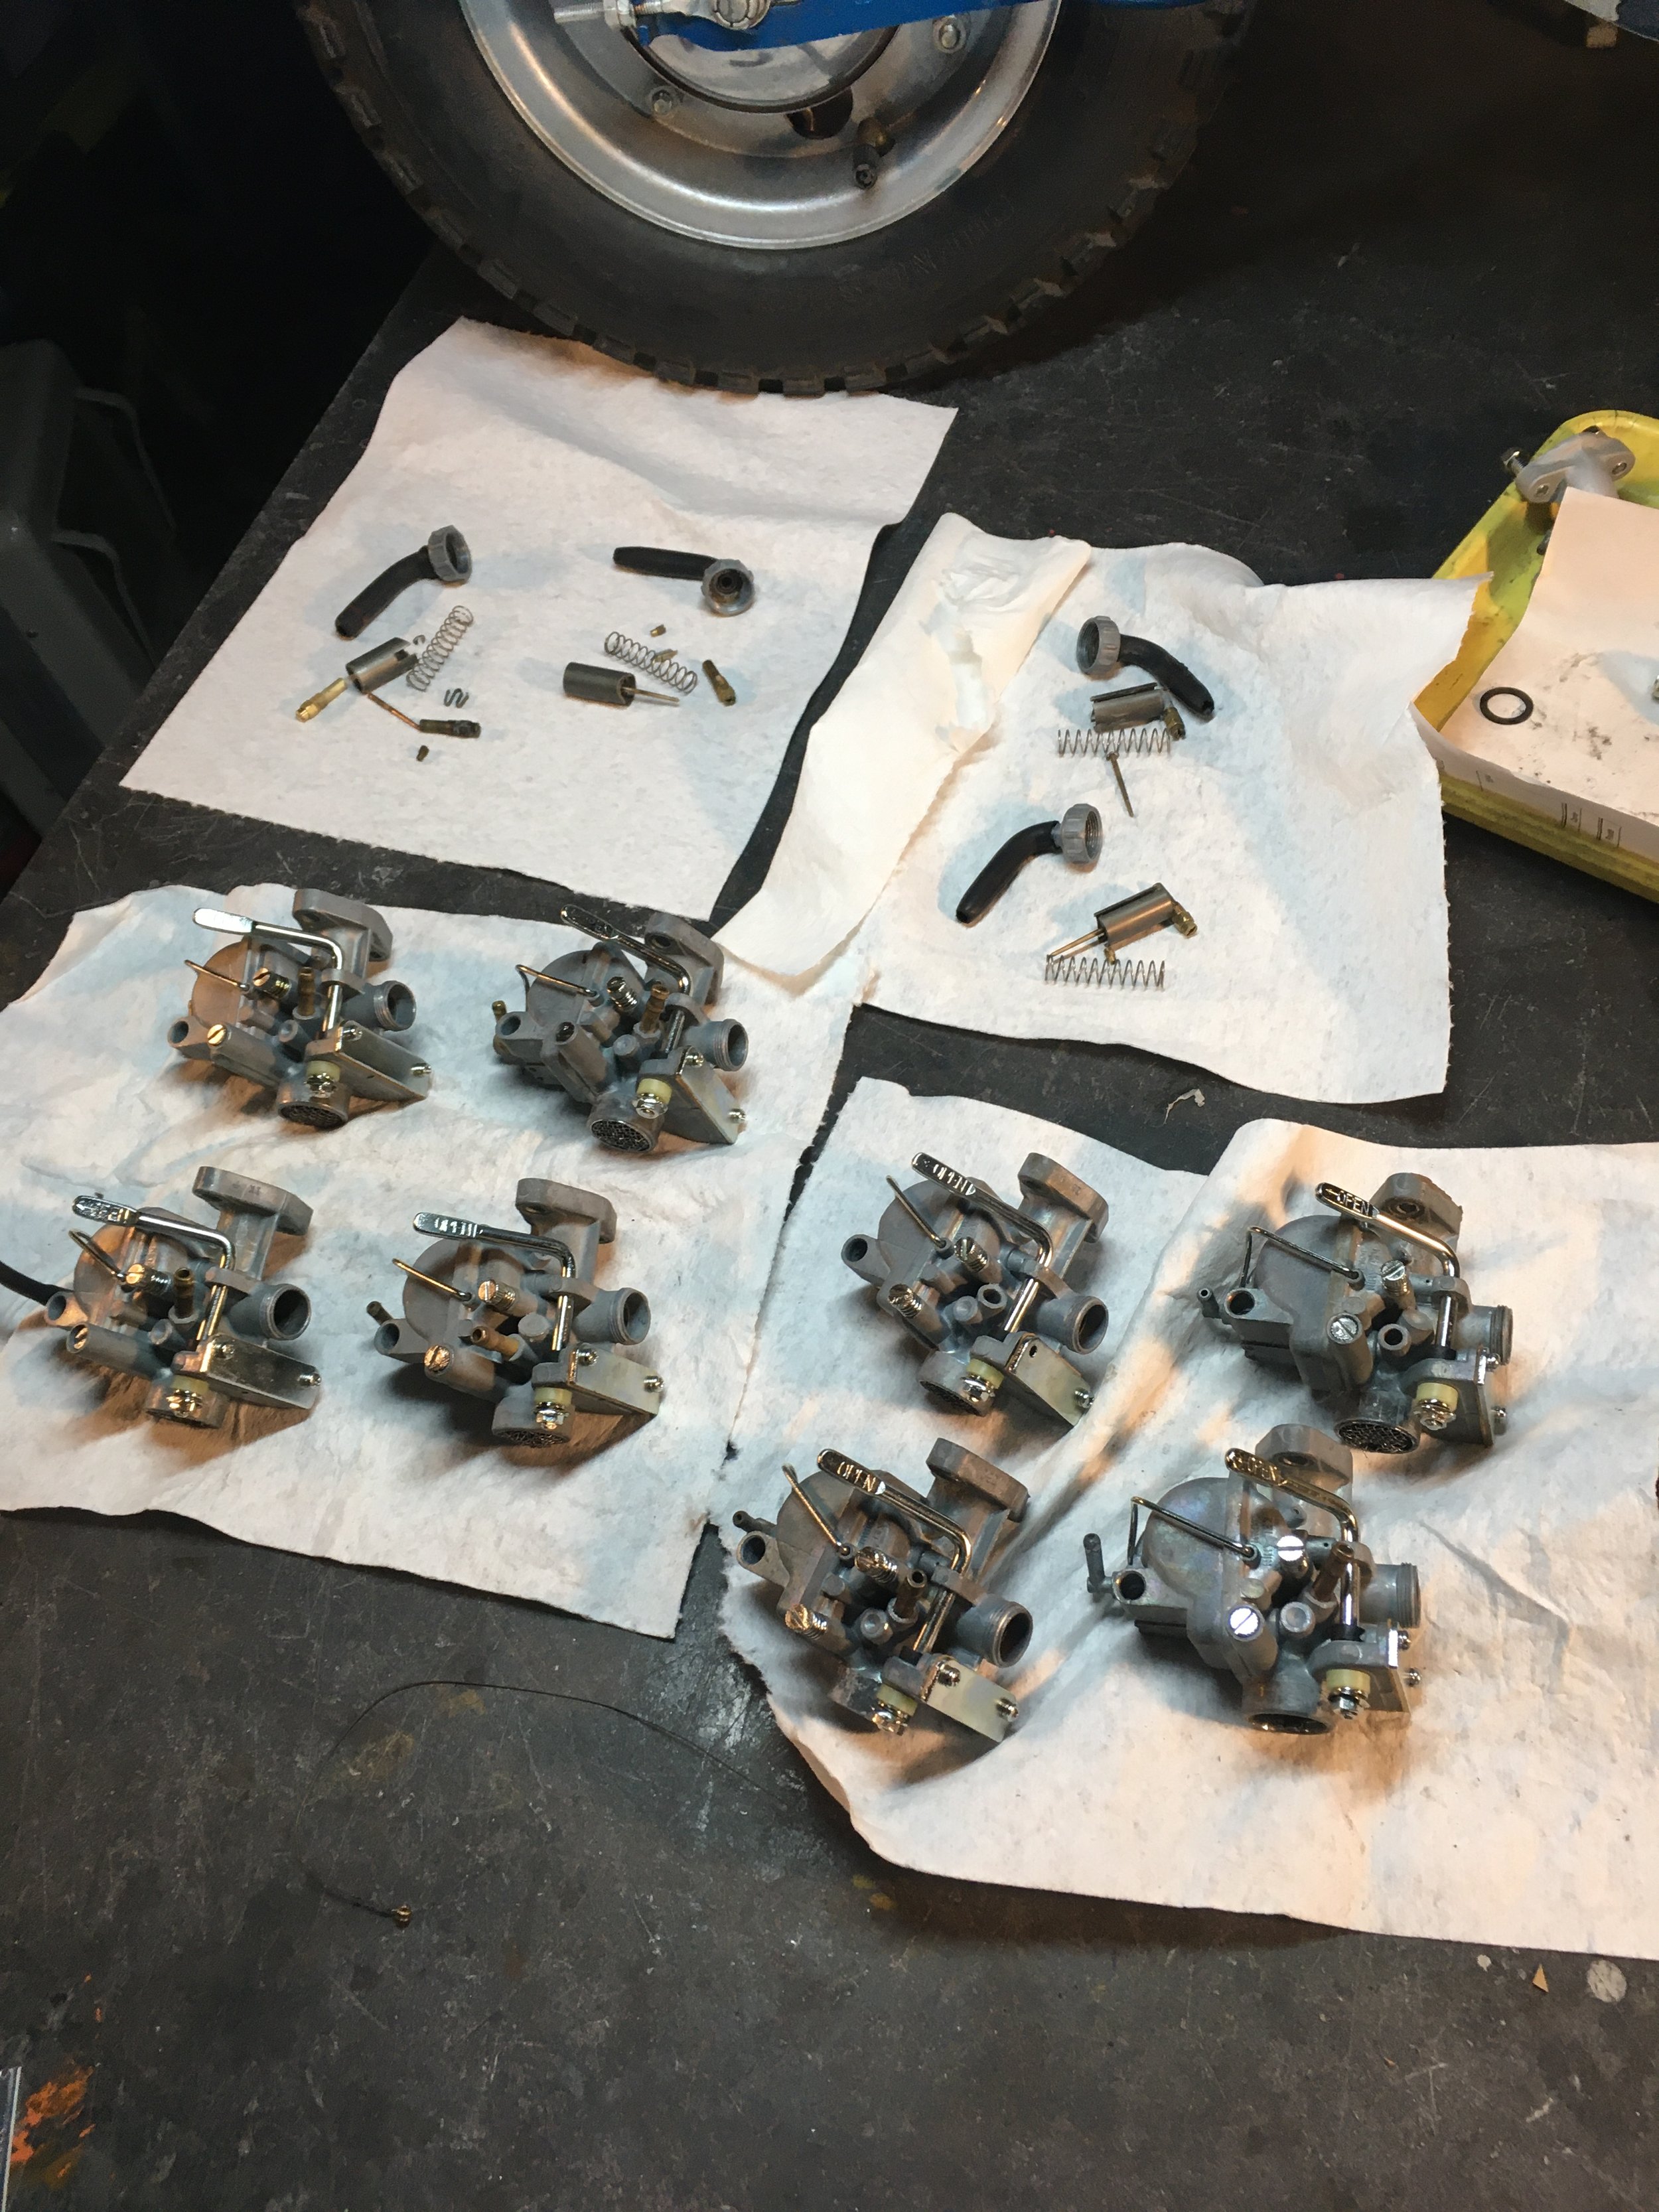
This is a typical before picture. The choke assembly and any other steel parts have been stripped from the carb and sent out for zinc plating. The carb body is cleaned in an ultrasonic cleaner, with hot degreaser. Everything gets blown out, and put back together with new seals and gaskets. Some of these carbs were incomplete, missing floats, slides and fuel hose spigots. Replacements will be found, or they will stay as parts carbs.
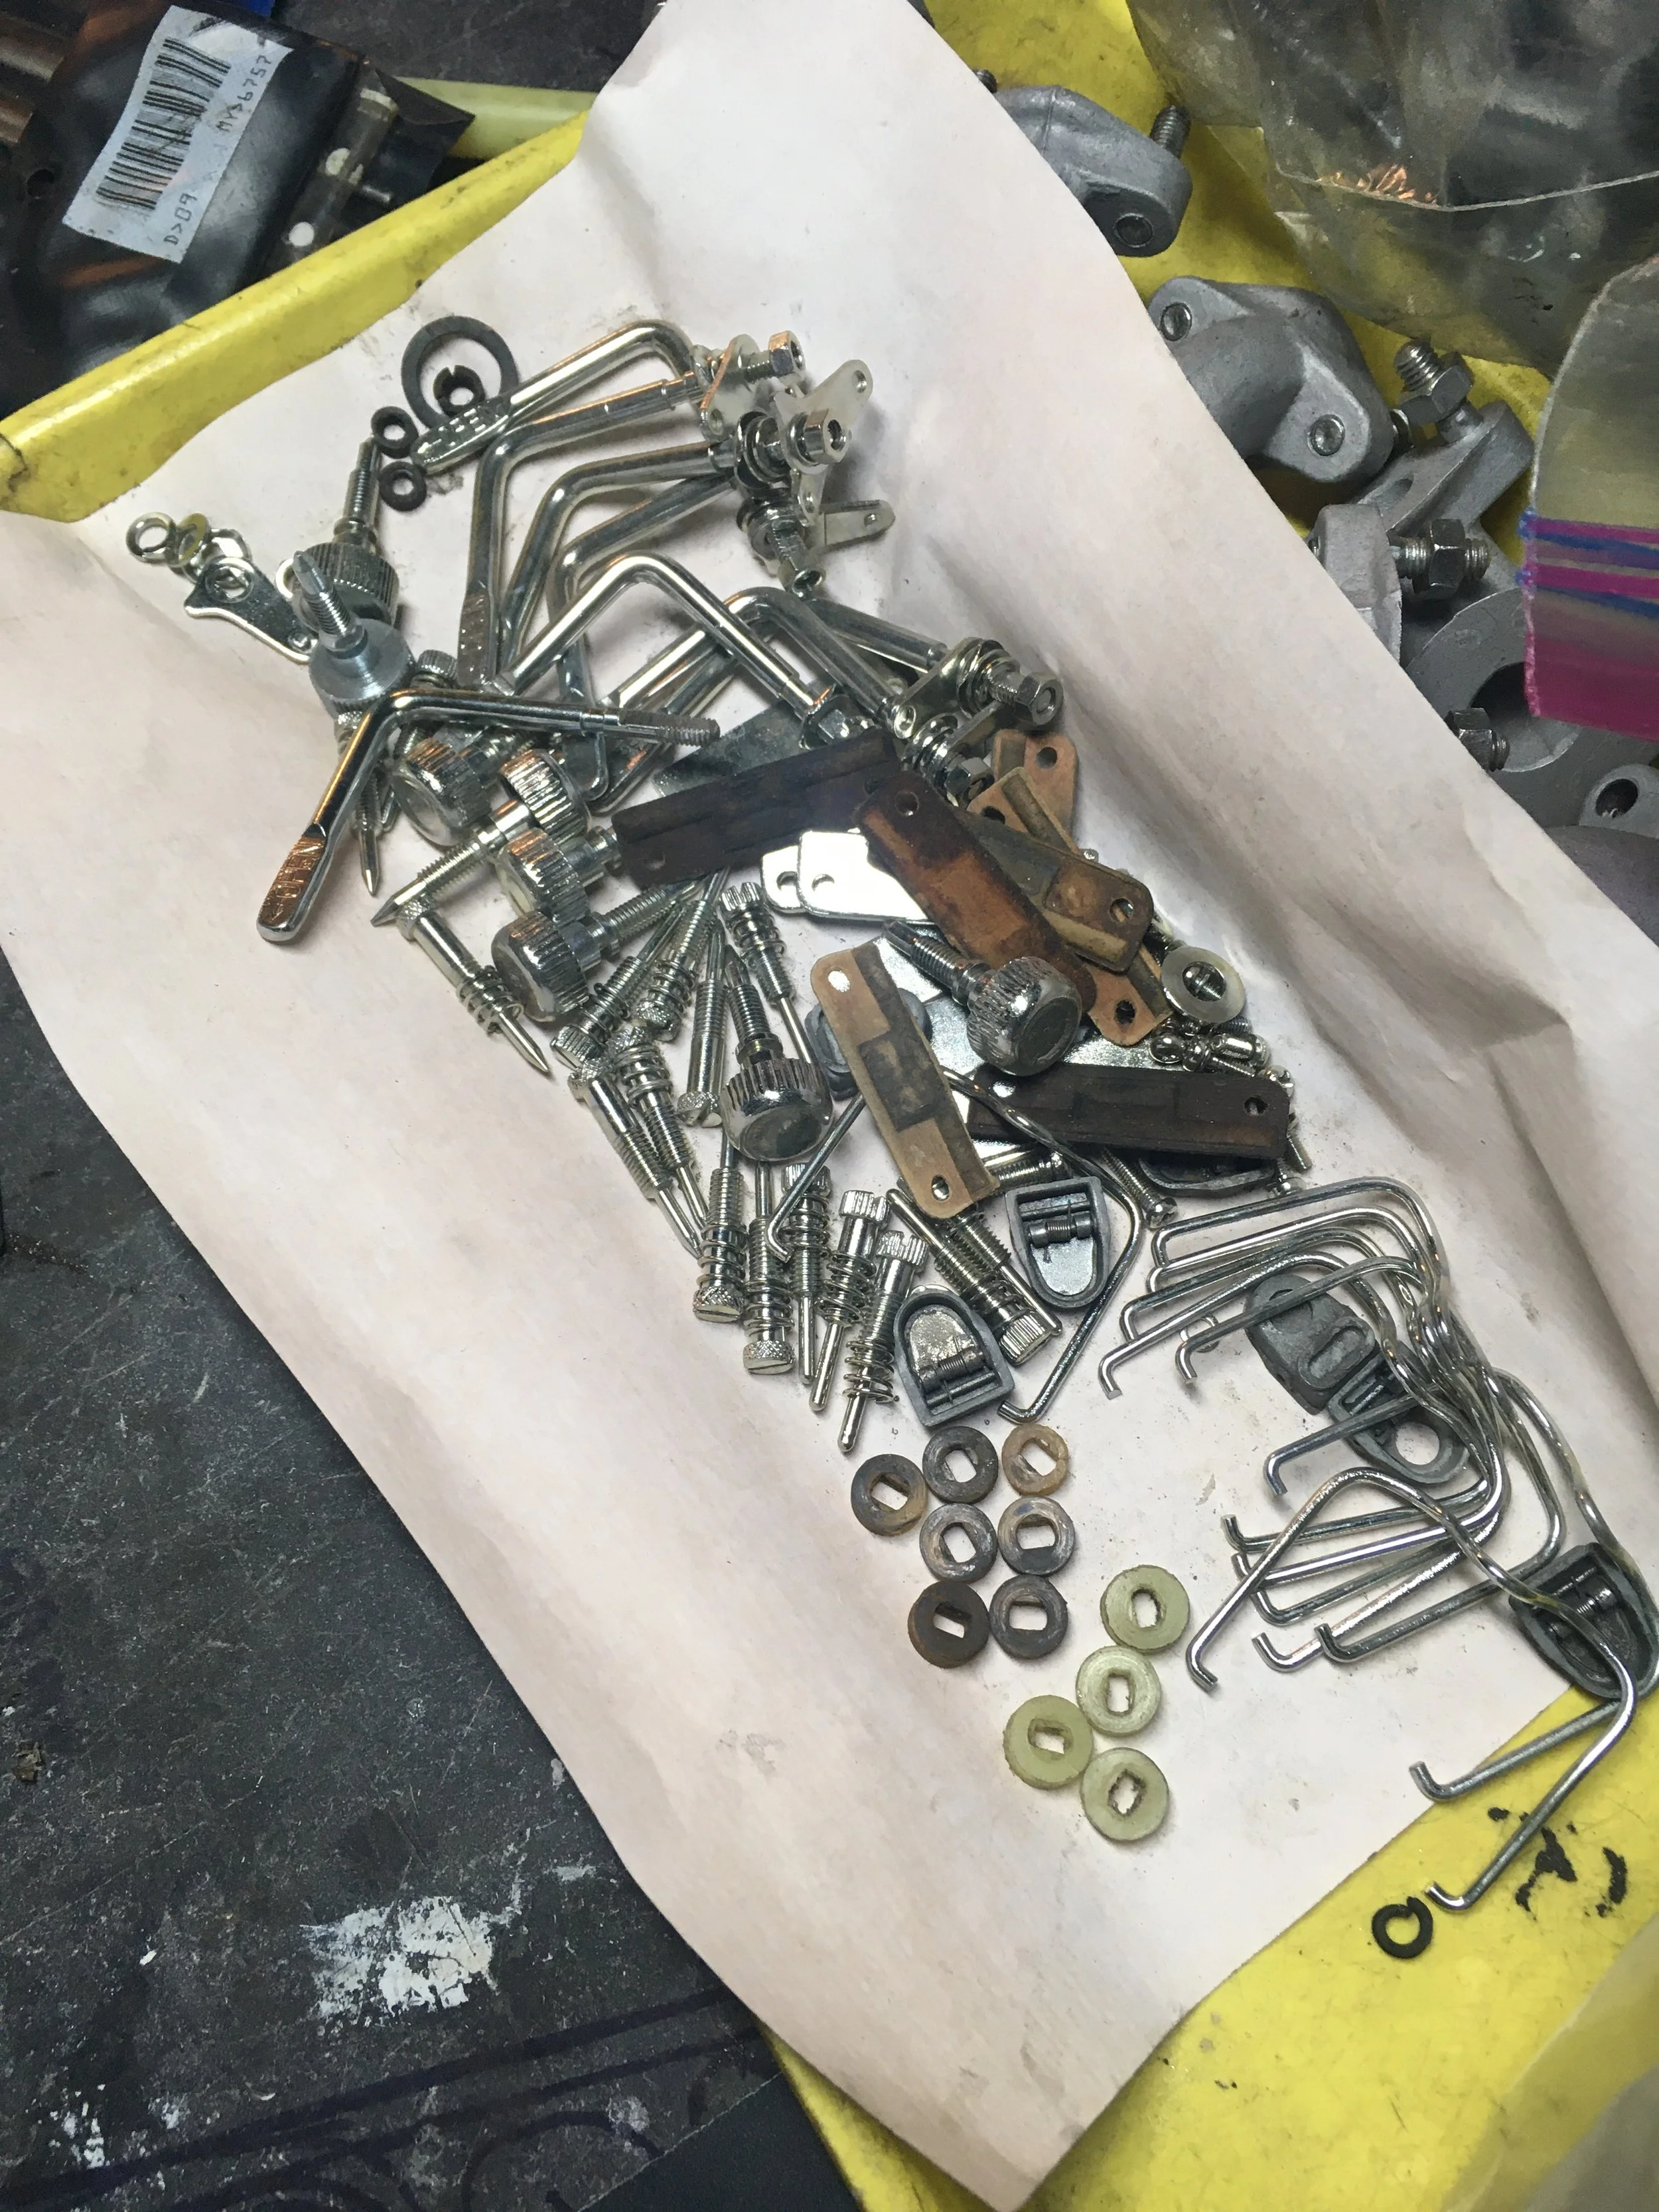
All the parts ready for rebuild. The paper gaskets were replaced with new, and the nylon and rubber seals were replaced. The original paper gaskets are in remarkable shape for being over fifty years old, but the nylon and rubber sealing washers are cracked and need replaced..
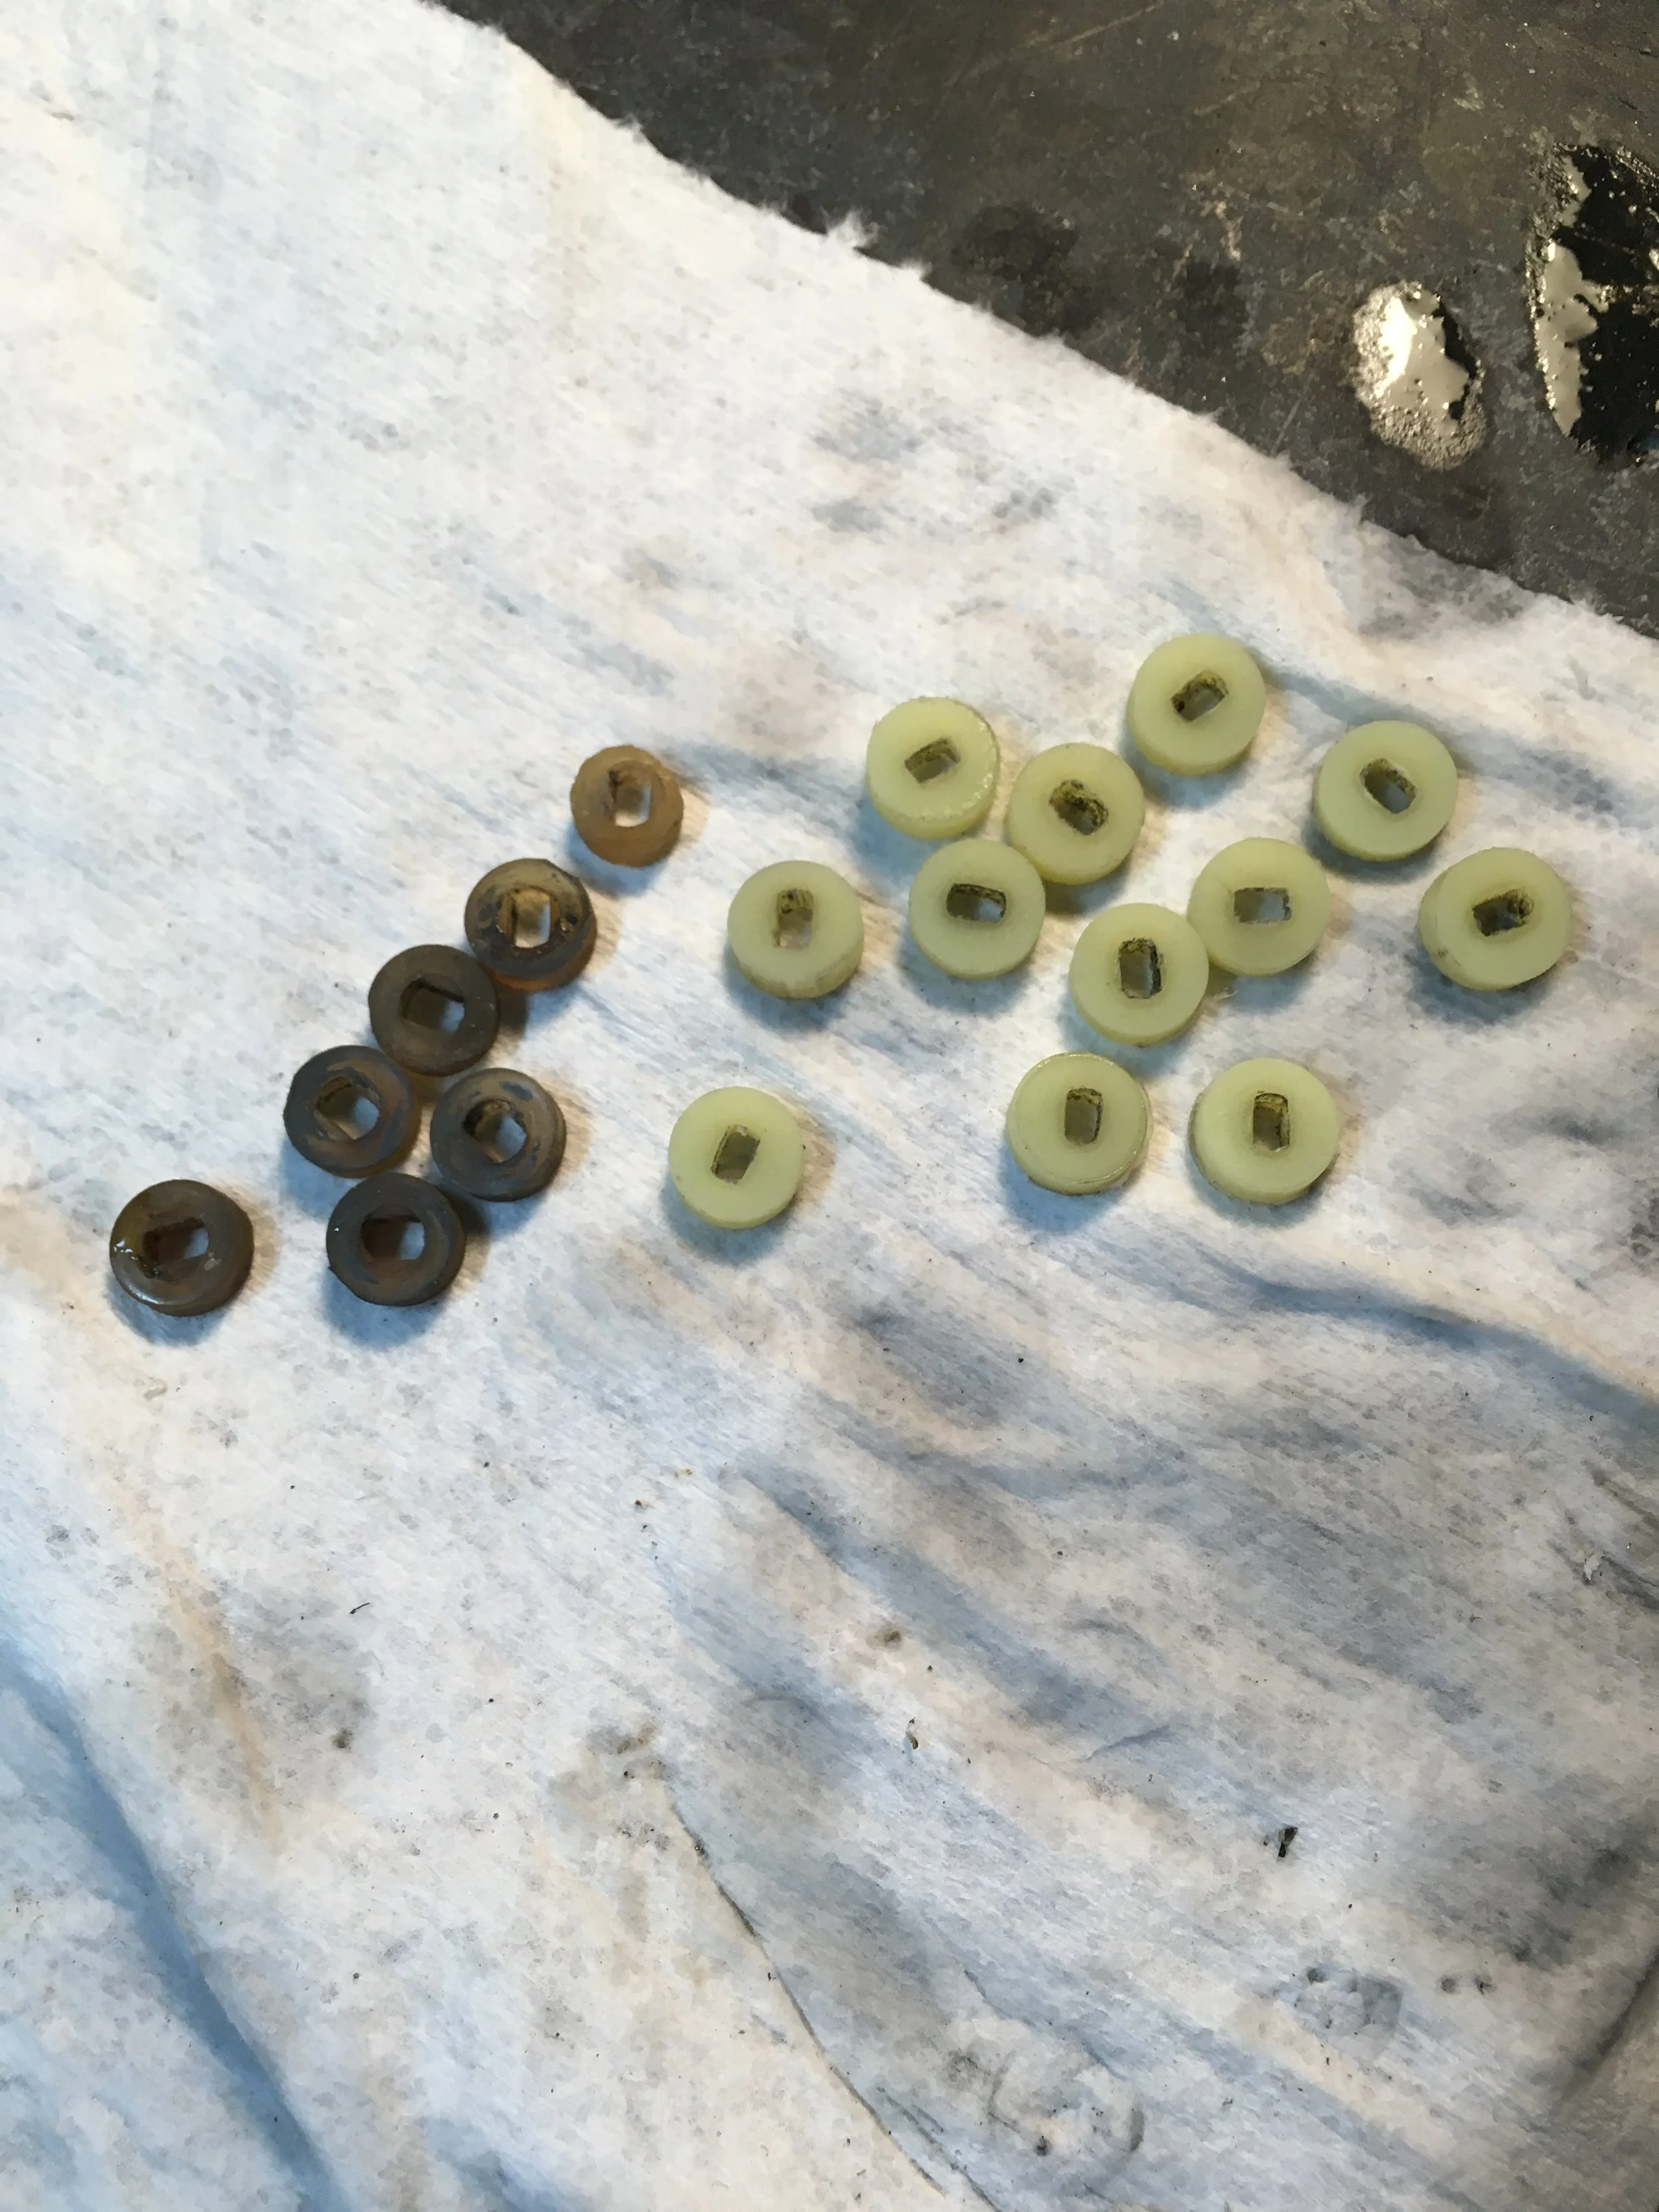
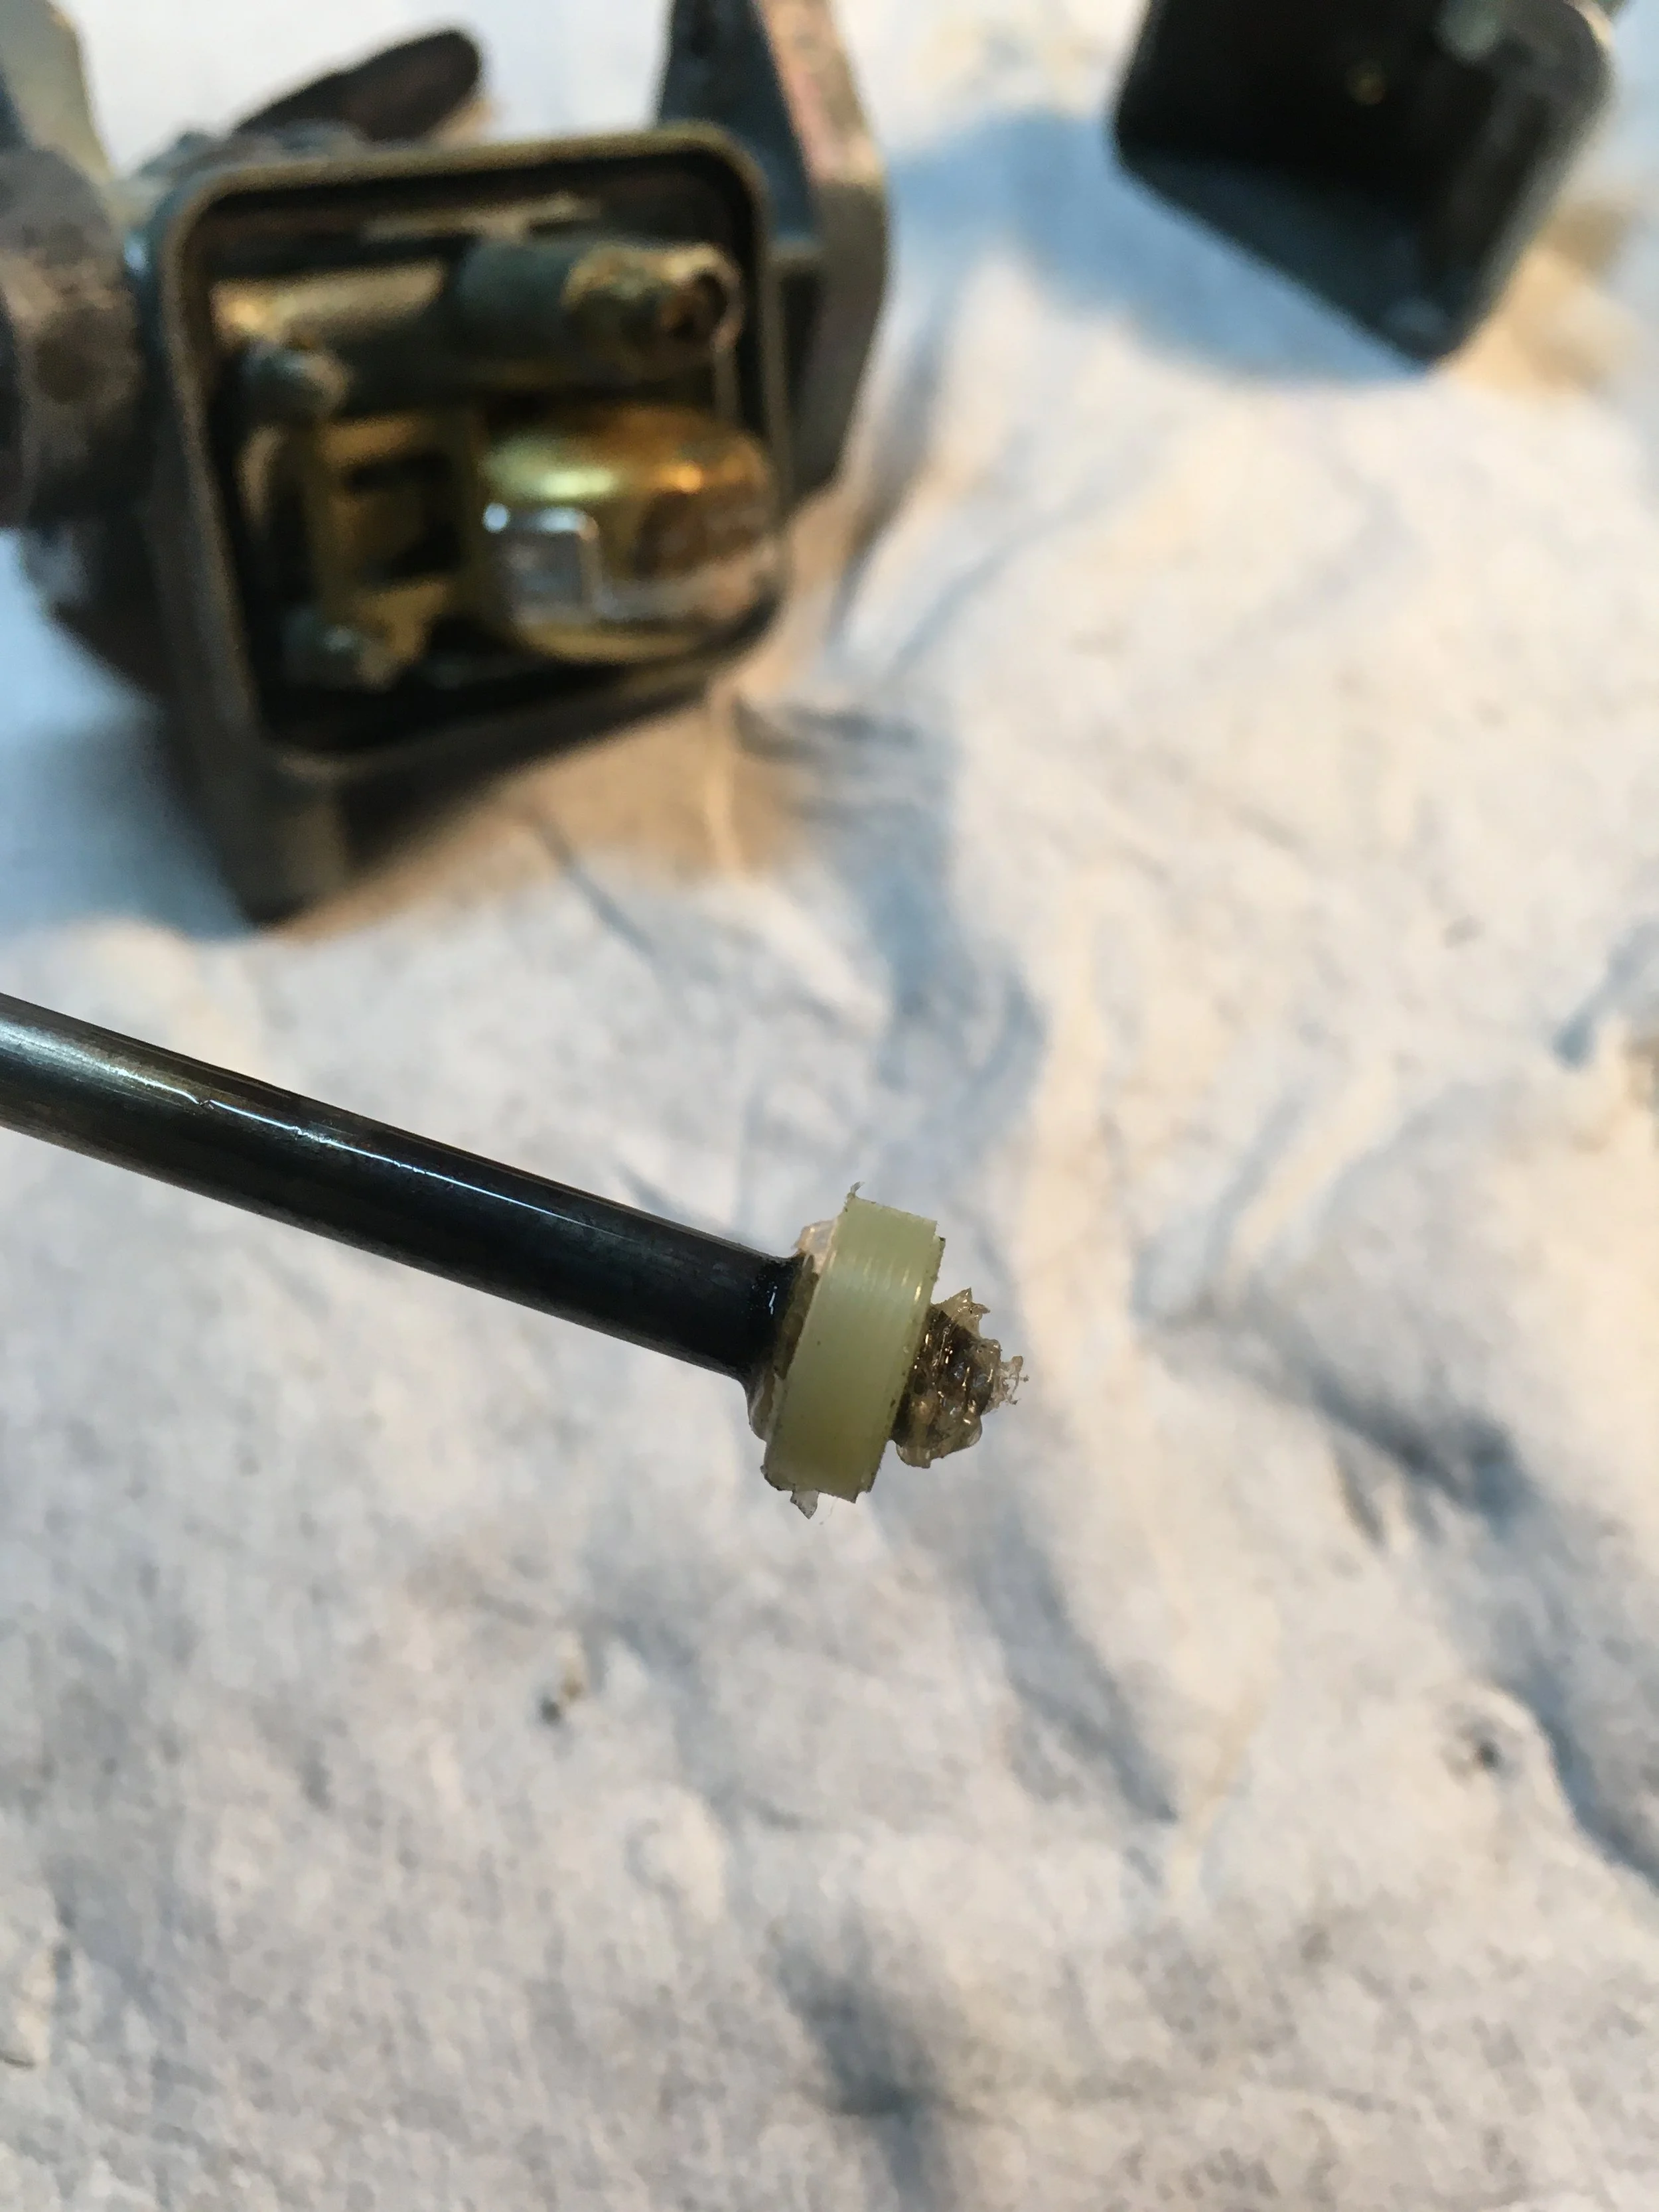
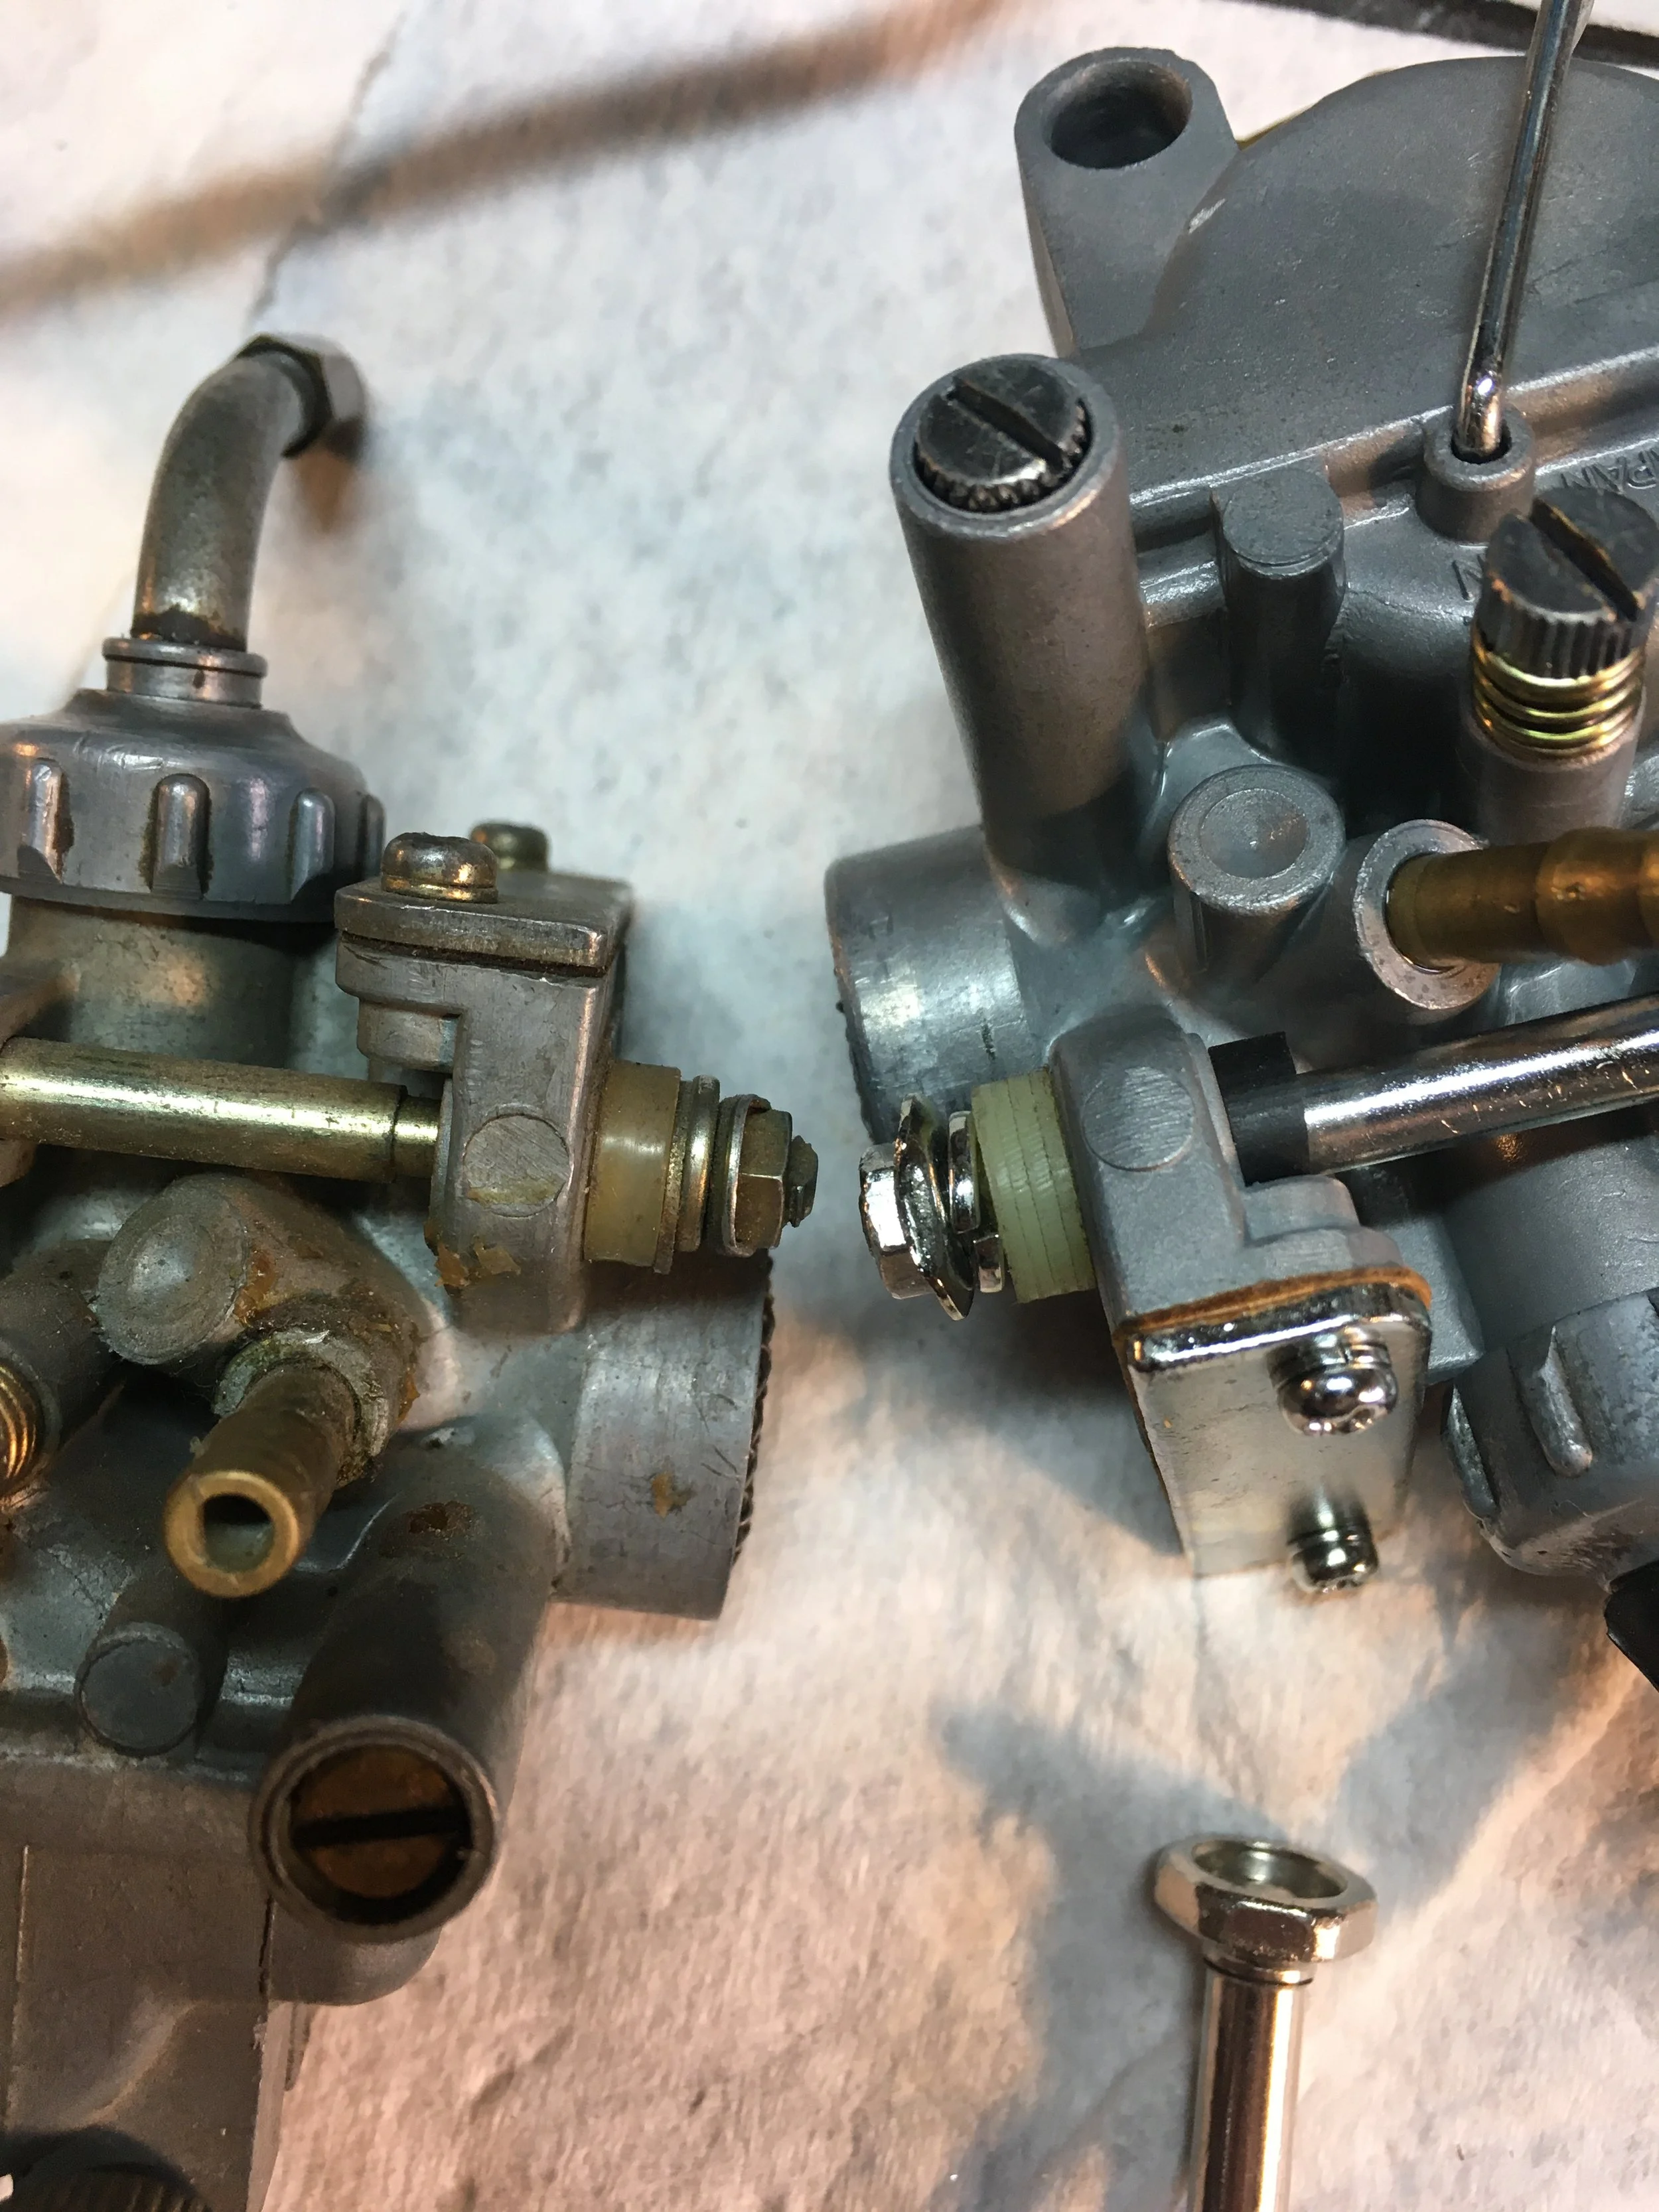
The original plastic sealing washer on the choke lever is one of the impossible parts to find. Pictures of the part online look like it is made of natural nylon. The used washers, seen on the left, are somewhat puckered on the edges, suggesting they have shrunk after all the years, heat, and fuel. A piece of nylon rod was turned down on a lathe to a size slightly larger than the largest original one I could find (there were a total of ten measured to get the size.) Individual plugs were cut from that rod, with a 7/64” hole drilled in the center.
Getting the keyed opening in the nylon turned out to be easier than anticipated. Drilling the center hole is easy enough, but getting the exact dimensions needed to make for a tight seal around the shaft of the choke lever took a little figuring. A piece of steel rod slightly smaller than the shaft was ground down on the sides to the same dimensions as the original shaft. The end of the shaft was tapered to help it center on the pilot hole in the center of the nylon plug. After heating to cherry red, the rod is plunged through the plug until it pops out the other side( I did this over a slightly open vise, that allowed the rod end to poke through the opening.) After a quick quench in water, the nylon is solid and the flashing can be trimmed off with a sharp blade. Keeping the plug on the rod while trimming makes for more crisp edges.
The nylon washer on the left was the largest original I could find. The one on the right is one of the new ones.
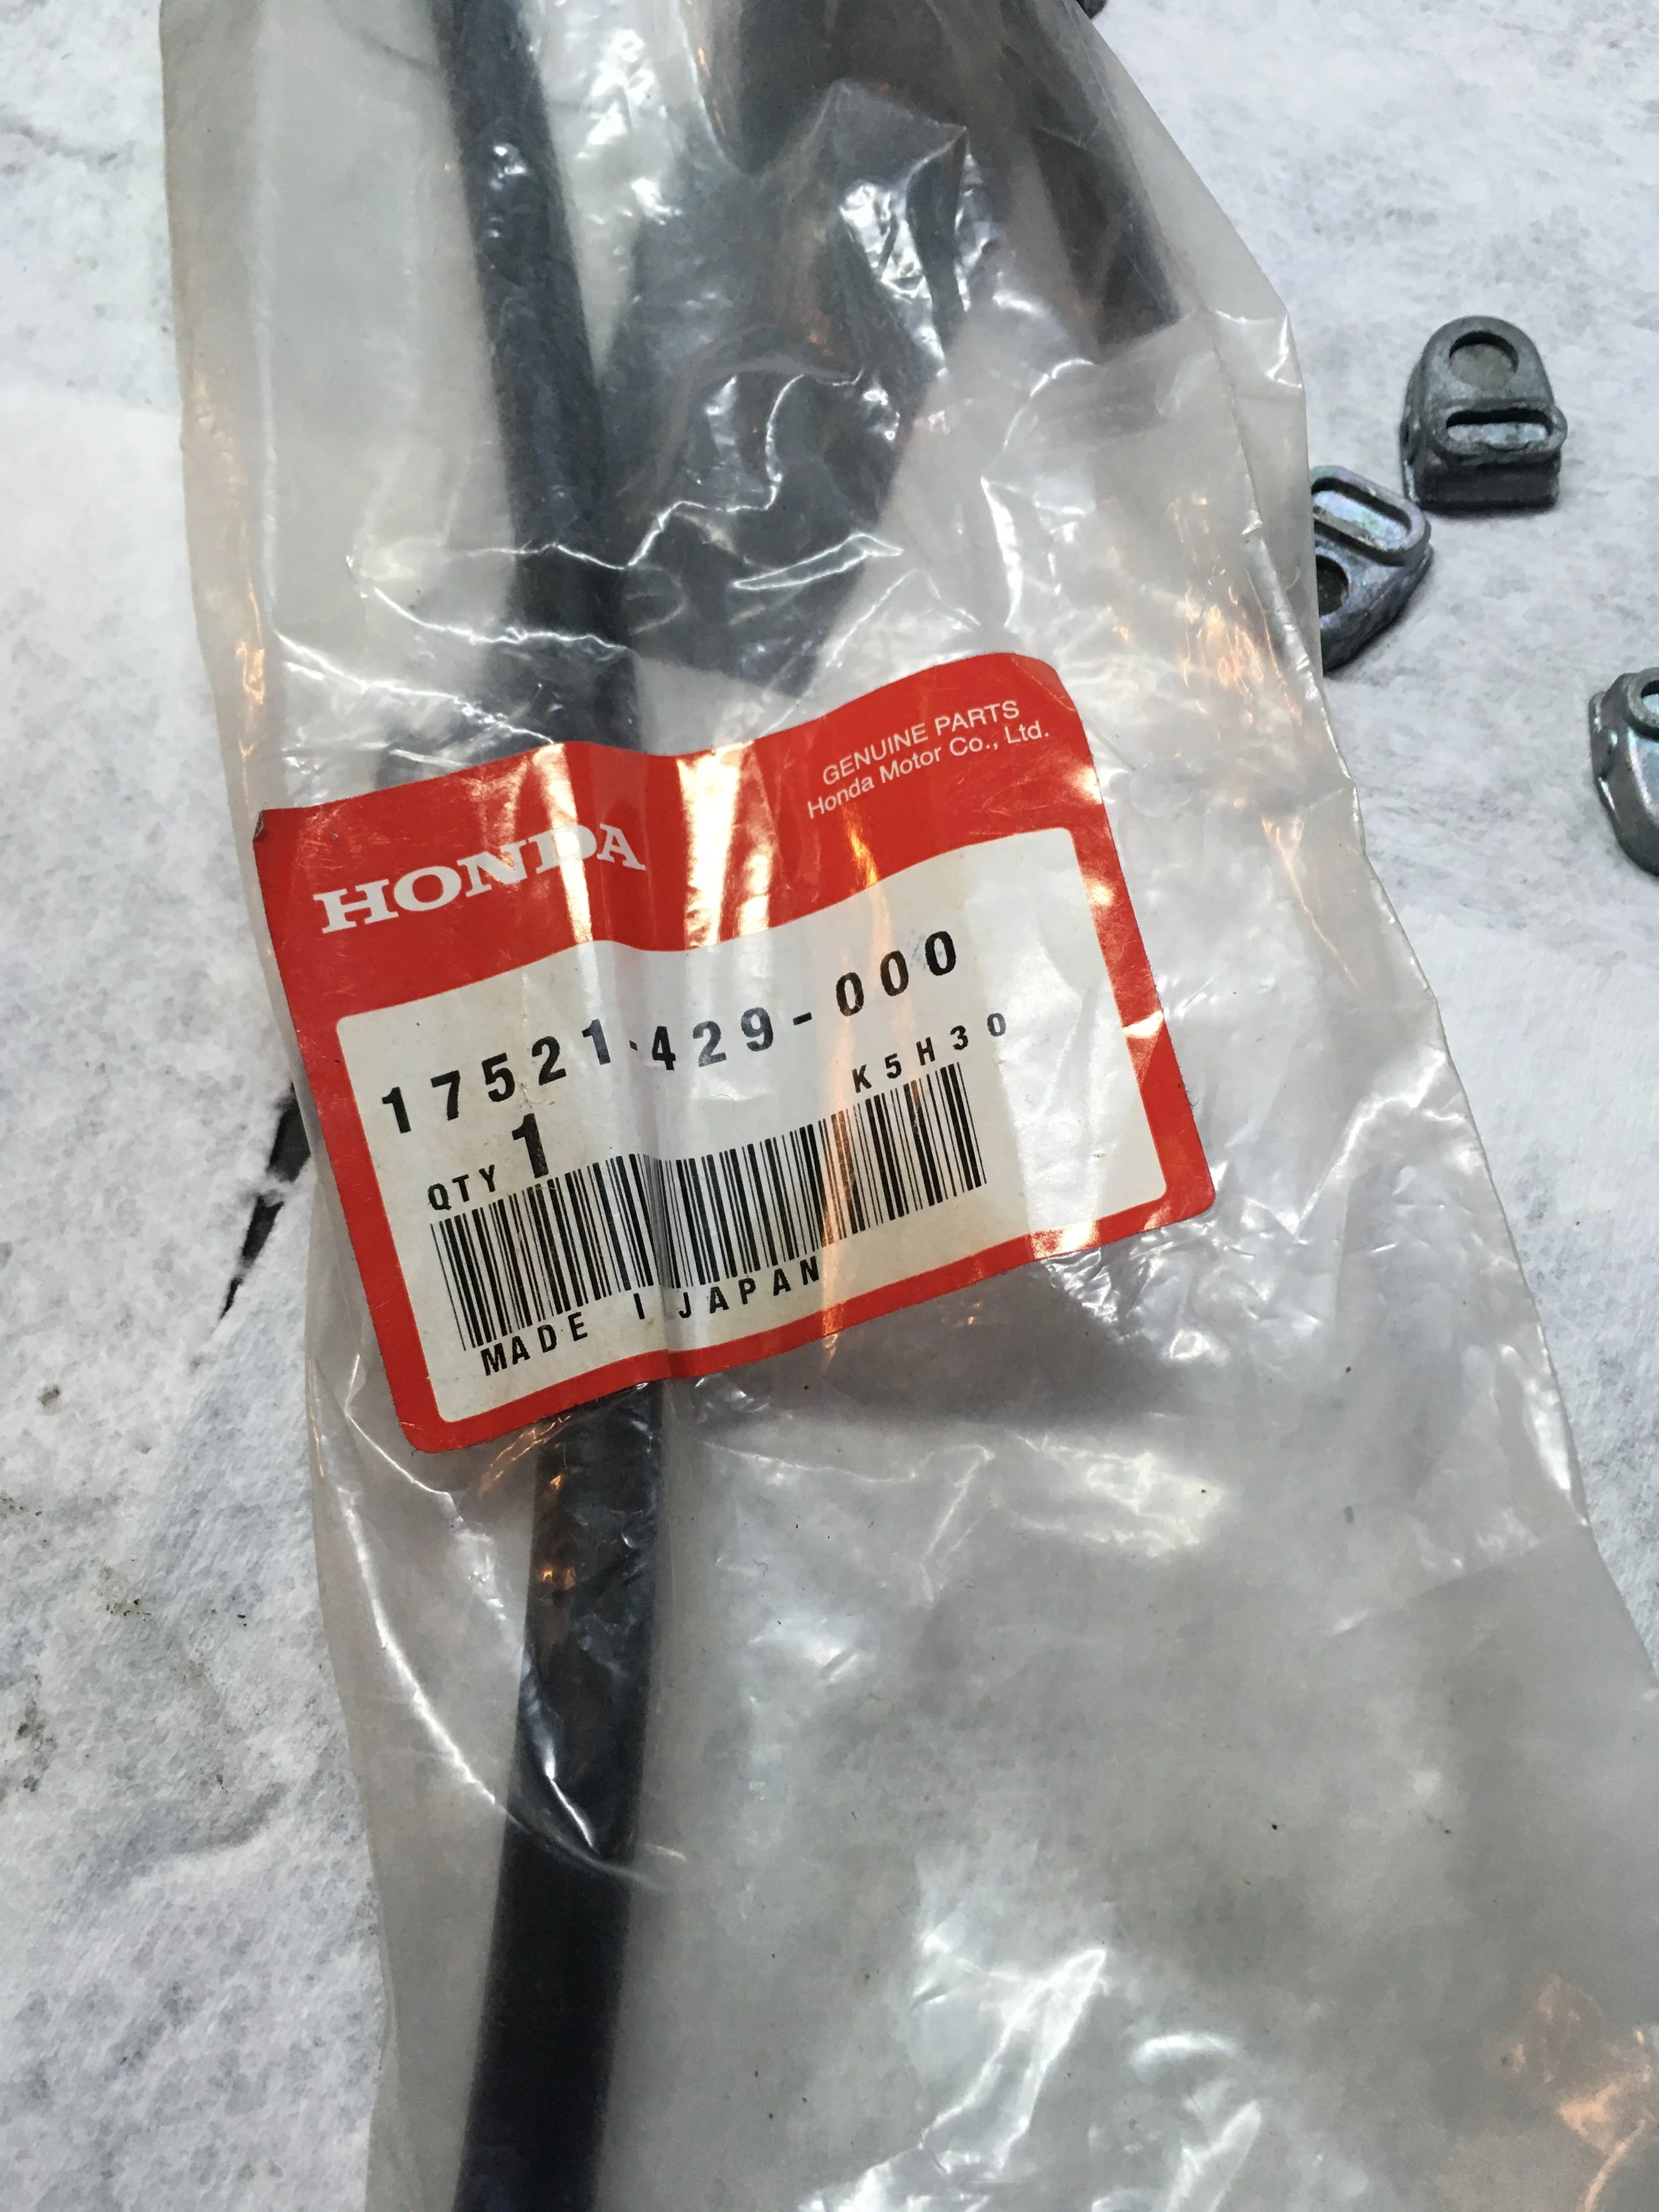
Small sections of Honda tubing were cut to replace the rubber seal on the shaft, another part that is impossible to find in new shape.
Part of the way through the process. The bodies of the carbs were not refinished aside from the ultrasound cleaning. Some still had a fairly good original surface, but most were in some state of oxidation. Vapor honing gives a beautiful finish, that looks even better than original. That may be the way in the future, but for now, this will do.
The intake manifolds were bead blasted, and the studs and nuts were re-plated. New O-rings were used for the fuel drain needle, and manifold.
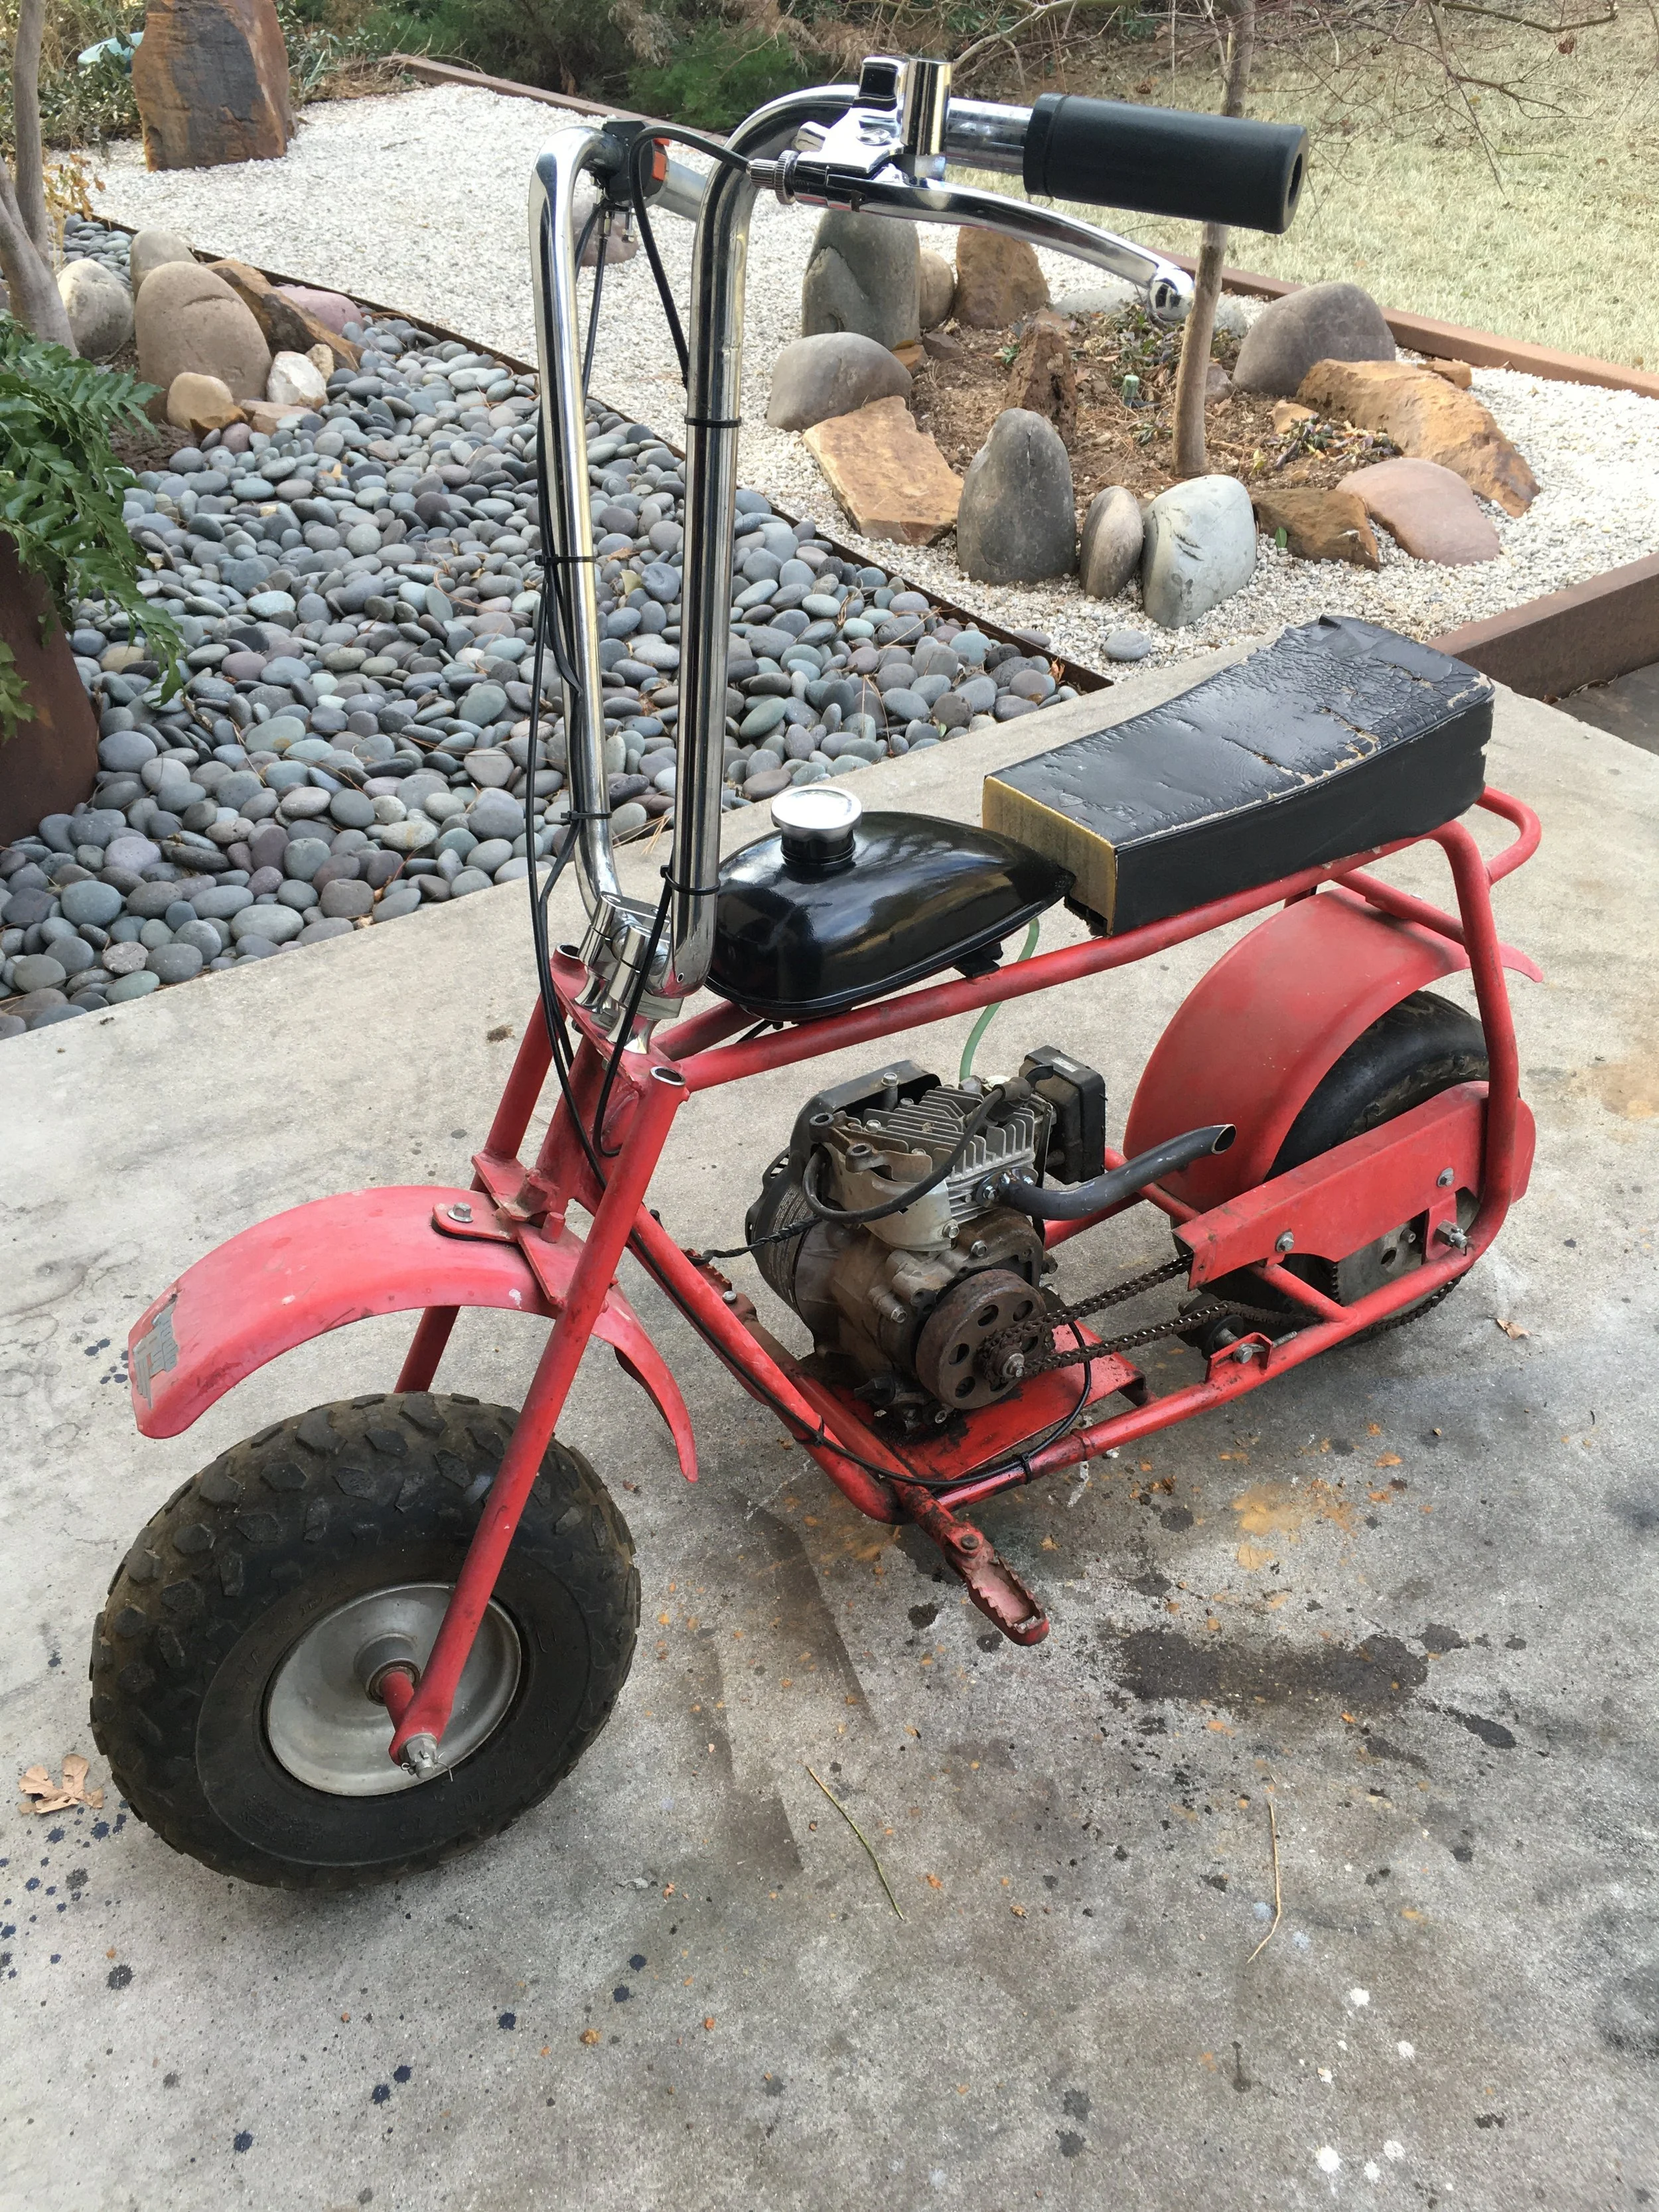
An finally… This DoodleBug minibike came from the same family as the 1967 Triumph Mountain Cub. It was hanging around the shop over at Skratch’s Garage in Haltom City, Texas, and I took it to do some mods and maintenance. It is being given a little refresh, with new bars, a mini Whizzer style tank, straight exhaust pipe, tires, chain, cables, and hand controls. She is a runner and rider, with a pretty mild engine. There may be an engine upgrade in the future…
